Post-Processing Lightens The Load; Raw Conversion As A Studio Tool Page 2
 |
Eraser Magic
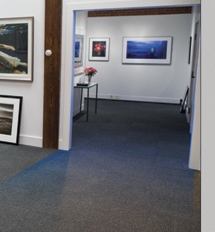
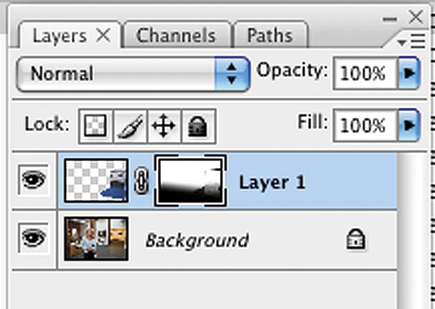
Now I’m going to click on the Eraser tool. I then “Control, click” to open the Brushes palette and start off with a soft-edged tool with a diameter of 21, hardness 0 percent set in the Brush mode, and the opacity set at 70 percent. But first, I enlarge the image to 100 percent and at the bottom of the toolbar, click on White to make it the foreground color. Then, making sure that I’m still working within the layer mask, I hold the shift key down, click on the bottom of the molding and then click further up, then back to the bottom, further up and so on until I’ve outlined the doorway. I then “Control, click” to open the Brushes palette and choose a hard-edged brush, 19 px (and then use the right bracket key to enlarge the brush a bit), set the opacity to 100 and proceed to remove the remaining “blue” on the outside of the lines I’ve already erased. There’s still “blue” on the inner molding as well as on the carpet. For these areas, I’m going to use a soft brush at a very low (20 percent) opacity. Using a larger brush, I move onto the carpet and back and forth, cleaning up the “blue.” The erased areas of the layer show up in the layer mask as black.
 |
 |
 |
Final Touchup
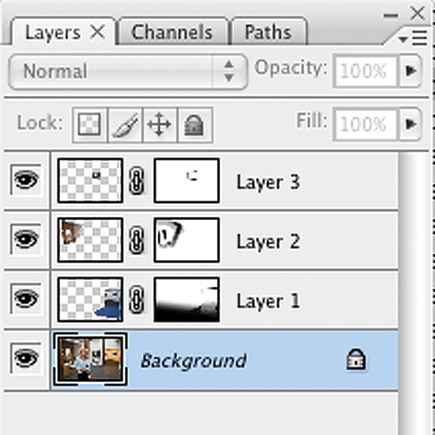
Finally, I’m going to use this same technique, reopening the original raw file, with the brick area in the back to lighten and warm it up and with the print on the wall of the woman in the water, again to give it a little more snap.
There are some that will say that all of this can be achieved using adjustment layers with only one file open. This is true, but I find that there is a more natural feeling to the final image when I use the raw window and the technique I have described, especially when I’m trying to get a good color temperature from the light. So with raw, I’m getting better sleep at night and I’m carrying a lighter load not worrying about whether I have enough Rosco gels.
 |
 |
Fred Collins (www.FredCollinsPhoto.com) has been immersed in photography since his father handed him a camera before they embarked upon a transatlantic voyage on a small sloop, with the instruction to read the manual and photograph the journey. After attending the Art Institute of Boston and subsequently working in New York City, Collins returned to Boston and opened a commercial advertising studio, where he began producing images for ad agencies, design firms, and editorial clients. In addition to his photography business, he also runs Berkshire Digital (www.BerkshireDigital.com), a custom printmaking shop specializing in giclée and fine art prints for artists and photographers.
- Log in or register to post comments


