Many of us has the undiscovered talent over this kind of things and is just waiting for us to be discovered. - David Slone
On The Road: Custom Jobs: Getting Better All The Time

All Photos © Maynard Switzer
My pursuit of the perfect—perfect for the way I work, that is—comes from experience. I’ve learned that my needs as a travel/documentary photographer are different than those of a commercial or fashion shooter. Not to mention that these days I tend to carry a lot less equipment than I used to because of airline regulations about what I can carry on board and what it’ll cost me to check my bags. So out of necessity, I’ve had to pare down what I carry, which means a smaller bag or case that’s configured precisely to my essential gear.

I work mostly with short, prime glass—28mm, 35mm, 50mm, and 85mm lenses are the ones best suited to my work—very often I’m working in tight places, like village marketplaces. And even if a 70-200mm might be okay optically, I’ve found that people get intimidated when they see a long lens pointed at them, and I don’t want to start off at a disadvantage.
Which means that my needs in a camera bag are different from most other photographers, and several years ago I had Tenba make a custom bag for me that had short lens pockets. I simply didn’t need the depth of the lens pockets provided by most bags, and I didn’t need space for three camera bodies. I gave them the dimensions and the configuration and got a bag that suited my gear and the way I worked with it. Years later I consulted with the Fogg bag company, and they’re still making the bag that resulted from my input about the needs of travel and documentary photographers. As of this writing they still feature a thank-you note to me at their website.
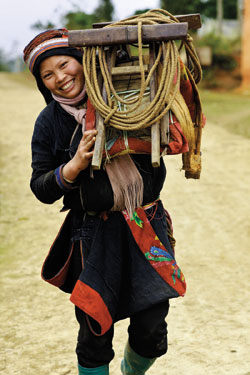
Back in the days when I traveled with large tripods, I worked with Tenba on a tripod case improvement. The case I used at the time—essentially a long, round, fiber tube—rolled off a luggage cart at the Montreal airport and was immediately run over by a baggage cart. Working with Tenba I designed a case (made of ballistic nylon and high density foam) that zipped into a triangular shape. These days I don’t need it as I use much smaller Gitzo Traveler tripods that I can fit inside a suitcase.
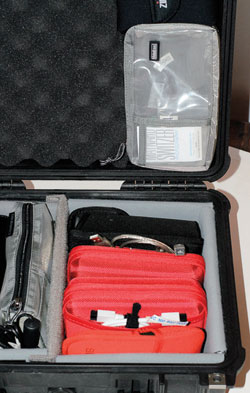
I’ve made modifications to my incredibly strong, rugged Pelican 1520 and 1400 hard cases. First I pulled out the foam padding from the lid area so I could hook-and-loop fasten in my laptop or several Think Tank small, clear plastic storage pouches that are made for cords and accessories. I also pulled out all the foam from the body of the case and custom configured the interior using foam-covered partitions I got from Lightware that I cut and fit for my cameras and lenses.
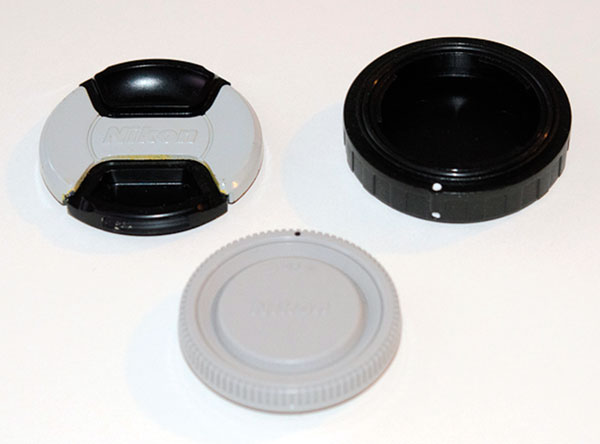
A different kind of do-it-myself modification solved a different kind of annoying problem. Call it the case of the lost lens caps. Some of them were literally lost—I’d put the front end or rear element caps down somewhere and lose track of them. Others were in my camera bag somewhere, but were not quickly or easily accessible; a black lens cap inside a black camera bag won’t reveal itself quickly or easily. I got the idea to solve the black-on-black problem when years ago a camera company issued a commemorative anniversary camera that featured a gray body cap. I simply painted a section of each of my lens and camera body caps. Once I did, I stopped losing them somewhere on the road or somewhere in the camera bag.
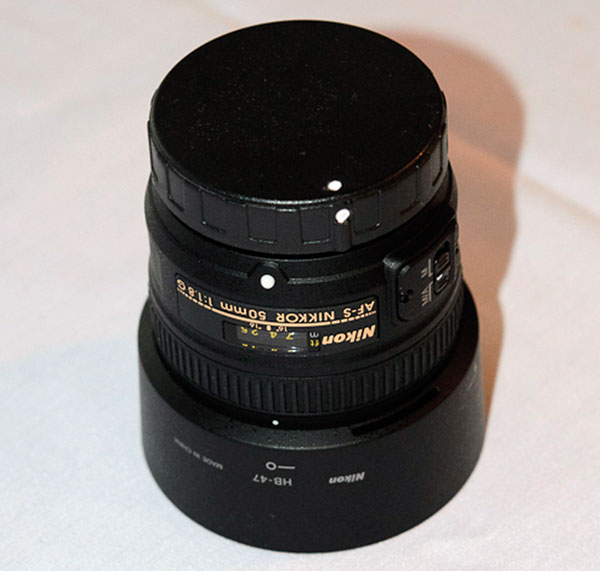
Then I took another step toward lens cap perfection when I started using OP/TECH rear element lens caps. They have several advantages: they are the same circumference as the back end of the lens—that is, they cover not only the lens element, but the entire mounting area, including the ring. And they have rubber gaskets for really tight sealing. I don’t have to tell you how important it is to keep dust and dirt out of digital cameras, and these caps do the job. Not only that, they are larger in circumference than typical rear element caps, so when you stand your lens up, there’s a good chance it’ll stay up thanks to the larger, more stable base.
But I still had to modify them. They have an alignment ridge for precise mounting to the back of the lens, and they go on only one way. Because they’re black, that alignment can be a bit tricky, so I’ve drilled very shallow dimples into the surface of the plastic caps and painted the dimples with Wite-Out correction fluid. Now I can easily see how to align the cap with the lens.
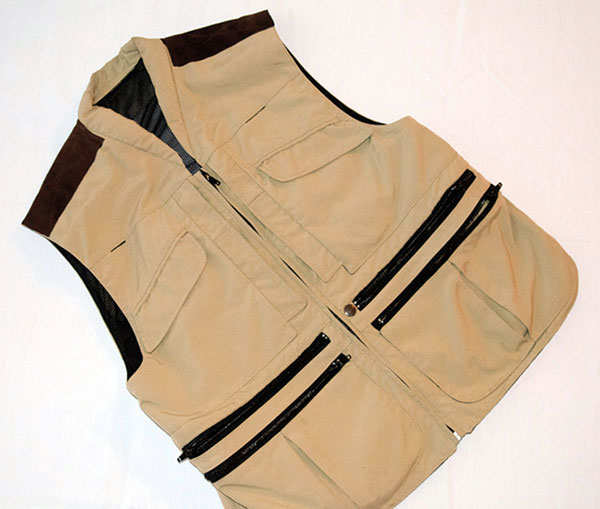
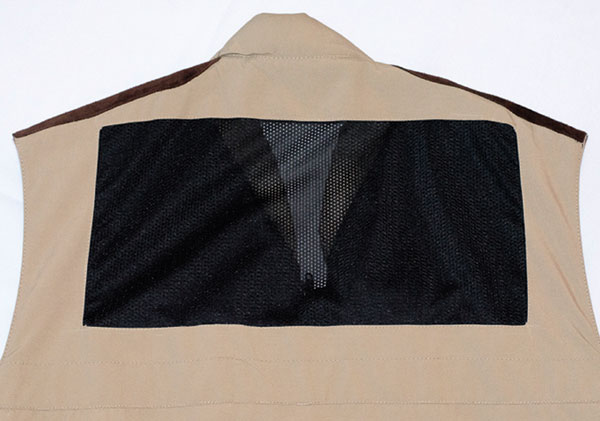
I’ve also modified my Billingham camera vest. I love it for its rugged material and overall quality and workmanship, but it was too heavy and too hot, so I made some changes. I removed the pocket flaps. I cut off the shoulder epaulets because they had brass snaps on them and had them replaced with rawhide strips to provide nonslip friction for my camera strap. I cut out the entire back of the vest and had it replaced with mesh. I drilled out the brass snaps wherever I felt they didn’t need to be. The result is a lighter, cooler, customized Billingham that suits me perfectly.
I don’t do any of this work on the spur of the moment, so if you’re considering improving your camera gear, a final word: think and plan carefully before reaching for the scissors, the paint, or the drill.
Maynard Switzer’s website, www.maynardswitzer.com, features several portfolios of his travel images.
- Log in or register to post comments


