A Long Lens Primer: Tools & Techniques for Reaching Out
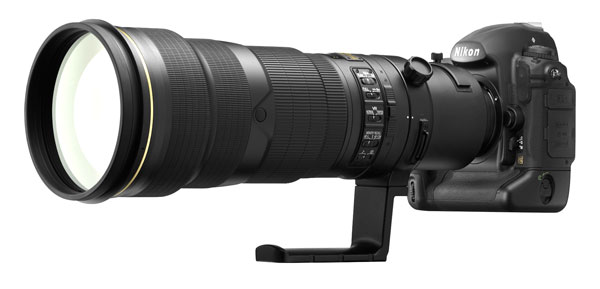
The truth is that for many of us long telephoto lenses are probably the last piece of glass we will add to our packs. Cost is certainly a big factor; super-long prime lenses in the 800mm class can cost upward of $200 per millimeter! But there are also many more affordable options, such as using a 70-200mm lens accented with a tele-converter to boost the reach or even on an APS-C sensor camera, which multiplies the focal length by 1.5 or so depending on the model camera.

All Photos © Stan Trzoniec
Image Stabilization
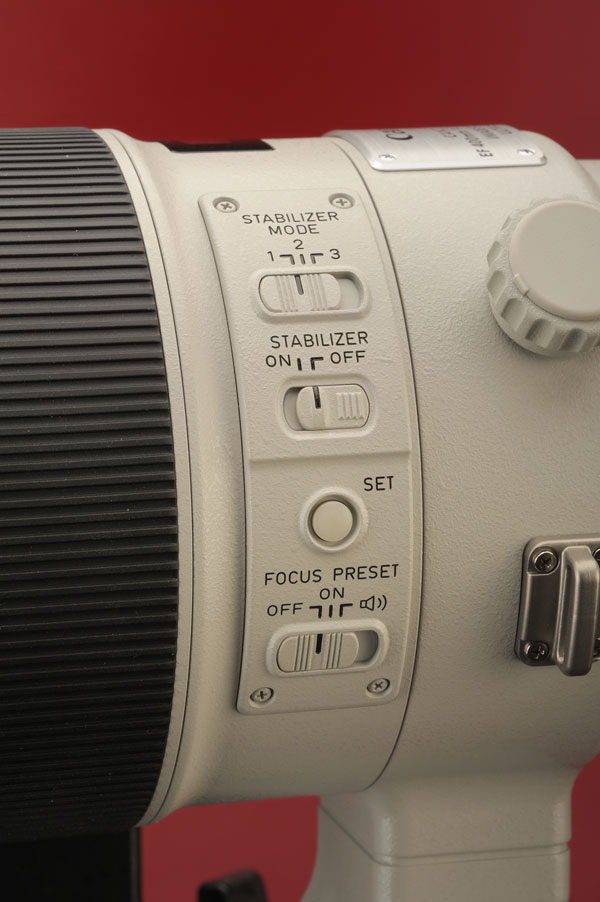
There’s no question that making a choice among the many focal lengths—and whether it should be a prime or a zoom—can be overwhelming. You might start by considering features that will pay dividends in the field. For me, image stabilization is an important feature, as is the lens coating, which helps prevent contrast-reducing flare. Image stabilization helps in getting steady shots when hand holding the lens and can get you an extra three, and sometimes four, stops gain.
The general rule is that you should shoot with a shutter speed that is the inverse of the longest focal length of the lens, so if, for example, you are shooting with a 300mm lens the slowest shutter speed for a handheld shot is 1/300 sec. (In truth, with a long, heavy lens I would double that.) But an image-stabilized lens extends that range, so, in theory, you can shoot with that lens handheld, in a three-stop range, at 1/30 sec. This can be beneficial because it allows you to shoot at higher quality, lower ISO settings in low light and should, even when shooting handheld with faster shutter speeds, help you get steadier images.
You can tell if a lens features image stabilization by codes in its identification. For example, Canon dubs it Image Stabilization (IS); Nikon has Vibration Reduction (VR); Sigma has Optical Stabilizer (OS); Pentax has Shake Reduction (SR); and Tamron calls it Vibration Compensation (VC). Note that some brands have an image stabilization system built into their camera bodies, obviating the need for the use of these stabilization lenses.
In truth, many long lens shooters generally shoot with the camera mounted on a tripod, with a gimbal head, but there are times when use of a tripod is not allowed or even practical, so having image stabilization available comes in handy. Also, note that in general you should turn off image stabilization when your camera and long lens are mounted on a tripod, although a few lenses will actually “sense” that the camera is tripod mounted and, in essence, turn it off for you.
Prime And Zoom
Then there’s the toss-up between a zoom and a prime lens (fixed focal length). There’s nothing wrong with a zoom and there are many affordable options in that class, especially if you consider lenses that change aperture (loss of a stop or so as you go longer) as you zoom. Most incorporate a 200mm focal length, which can be extended with a tele-converter (an optical device that mounts between the lens and the camera body and that in essence magnifies the image) or when using the lenses on a smaller sensor camera body.
Examples of this include the following lenses: Canon’s 70-300mm f/4-5.6 IS and 100-400mm f/4.5-5.6 IS; Nikon’s 80-400mm f/4.5-5.6 VR; Sigma’s 120-400mm f/4.5-5.6 and 150-500mm f/5-6.3; and Tamron’s 70-300mm f/4-5.6. When you get into constant aperture zooms you start to see the price go up substantially. One of my particular favorites in high-powered zooms is the Sigma 300-800mm f/5.6 lens that goes for around $8000. It’s a tool of my trade, and for me it delivers the goods. There are less expensive constant aperture zooms that have lesser reach such as the growing availability of 70-200mm f/2.8 optics that can save you some money and get you working in the field.

Survey In The Field
As I travel around I usually take notice of what equipment other enthusiasts are using in the field and I usually see that many photographers prefer fixed focal length lenses. When I was recently at the famous Ding Darling bird sanctuary in Florida, the lineup of long, heavy glass was impressive, as it was on a recent photo safari to Africa. Many of the dedicated shooters work with 400mm, 500mm, and 600mm primes.
But this brings up another point—matching the longest focal length with the work at hand and making a choice between a prime and a zoom. Case in point: when in Africa I had a photographer share the safari Rover with me who carried a 400mm lens. Although he managed to carry the lens on the plane easily enough, when working in the confines of the safari he admitted that a smaller zoom that would reach in the 200-400mm range would have been a much better choice. Granted, his long prime had the image stabilization, but it was too long, too heavy, and by using a monopod negated the stabilization to the point where he could not use it for many shots.
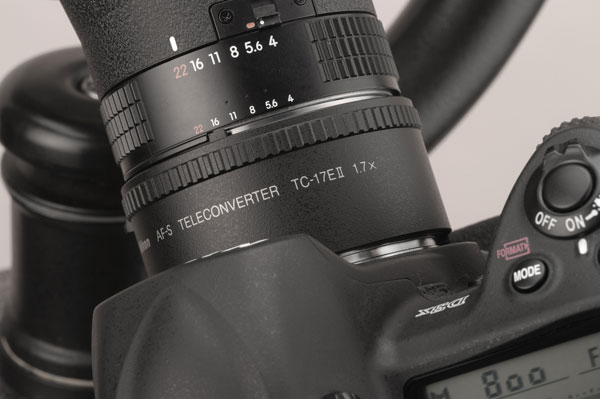
Experienced long lens shooters use a tele-converter as a matter of routine, but you might also consider using a long zoom with an APS-sized sensor camera instead. Generally, tele-converters “steal” a full stop of light (or more) from your exposure (of course, you can always raise ISO, but sometimes there’s a price to pay in quality when you do). For example, my Nikon D2X is perfect for wildlife as the smaller sensor boosts the equivalent magnification from 600mm to 900mm without a full stop of light getting lost in the bargain. And, if you use a tele-converter with a slower (narrower maximum aperture) lens, they rob too much light from an already fairly narrow maximum aperture. Say you have an f/4-5.6 zoom and use a tele-converter that drops a stop of light—that means that your maximum aperture, in terms of light gathering, is effectively f/8.
Tele Tips
To finish up, here are some tips I’ve gathered from my work with long lenses:
Always try to shoot at one aperture over the maximum for better sharpness, especially on edges.
Follow the inverse focal length rule when choosing shutter speed, and go an extra step for insurance, and adjust ISO to gain that advantage when necessary. Nothing ruins a shot like shake, so do all you can to prevent it, and when shooting handheld always engage image stabilization, regardless of the shutter speed.
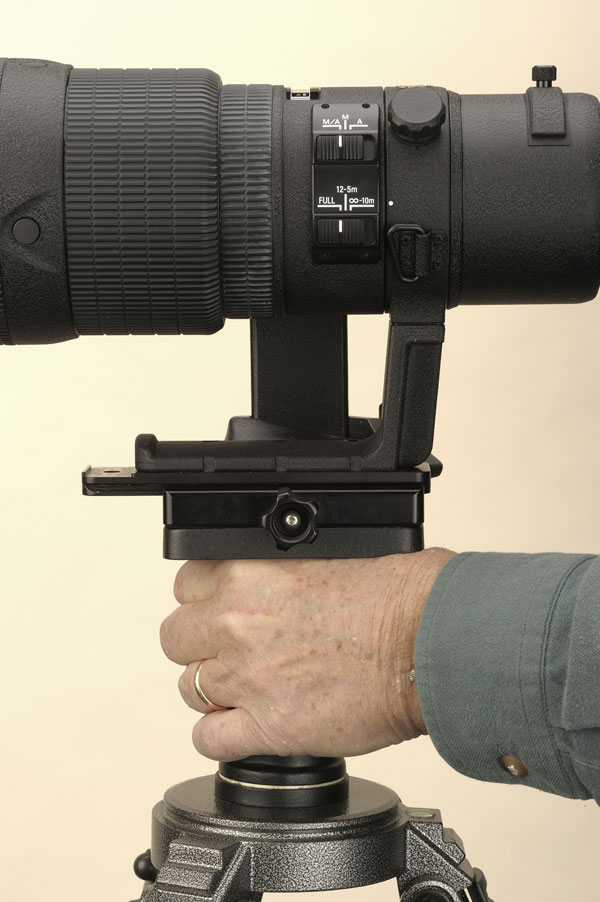
Use a tripod (and disengage image stabilization) for most of your work. When on the tripod, brace the complete assembly by pushing under the center of the lens as it sits on the tripod with your forehead pushing forward on the camera. A cable release is a good idea, as is using the short self-timer mode to help reduce vibration further for those shots that do not rely on split-second timing.
Since most telephotos come with a lens hood that comes with a large attachment knob, I place this at the top (12 o’clock position) of the host lens and by looking over the camera’s hot shoe—much like a rifle sight—it becomes a perfect set of reference points in which to line up the subject.
And watch your foreground! While it sounds elementary, your image might contain a surprising element—an annoying branch or twig that somehow got into the range of your picture that the long lens and shallow depth of field did not make apparent at the moment of exposure. My technique is to sight my subject and if I have time to override or turn off autofocus and track the lens throughout the visual field.
Stan Trzoniec’s latest coffee-table book, Prime Mover!, is a study of the contemporary diesel locomotive in America and is available through his website, www.outdoorphotographics.com.
He can be reached via e-mail at fotoclass@aol.com.

