Shooting And Assembling Panoramas; A Stitch In Time—The Sequel Page 2
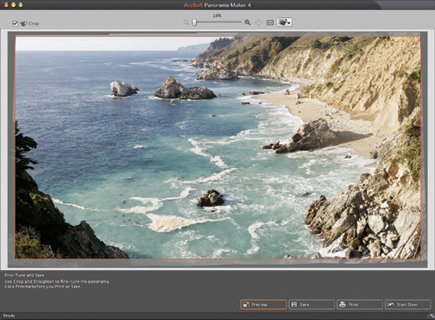
Ready? Take a deep breath, click on Stitch, then sit back and relax. In just a bit the Fine-Tune and Save dialog appears with the suggested cropping outlined in red (#4). If you prefer another cropping or need to straighten the horizon you can do that here before you click on Save or, if you prefer, Preview. Images can be saved in several different file formats, including JPEG and TIFF.
 |
|
|
Panoramic GuidelinesAs with any panoramic stitching method a few simple guidelines will make the whole process much smoother.
 |
First and foremost, be certain that the camera is level. It must also remain
level as you pan through the images you plan on stitching. A tripod equipped
with a leveling stage can be a great asset but at the very least use a bubble
level that fits in your camera's hot shoe. Rehearse the shot a couple
of times to be certain of the alignment and overlap of the images.
If you are shooting with a wide angle lens you'll need more overlap. Something
approaching 50 percent is about right. If you use a telephoto lens an overlap
of 20 percent or so will be adequate.
 |
|
|
Shooting panoramas is one time when you want to leave the polarizing filter
in the bag. Otherwise the sky won't match from shot to shot. You'll
also want to turn off the camera's automatic exposure system. I generally
will do the complete panorama several times, bracketing the exposure settings
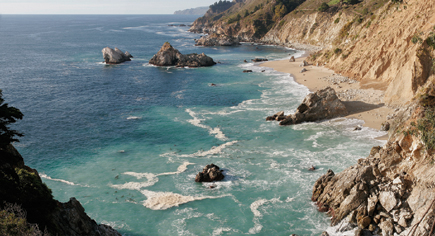
or shooting in raw. Watch for things that move--waves in a coastal scenic,
for example, will almost guarantee that you'll have problems with stitching.
The best advice I can offer is to practice at home in the back yard or at the
neighborhood park. A trip to some distant locale is not the place to try to
figure out what you're doing.
 |
|
|
Oh yeah, while you're practicing, let the kids get into each shot. They'll love showing up as triplets or quintuplets, and so will grandma.
- Log in or register to post comments


