The Importance of Setting White & Black Points in Lightroom (VIDEO)

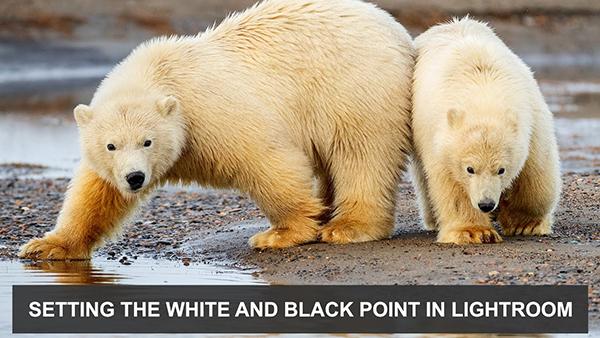
The task of accurately setting the white and black points during post processing refers to adjusting the brightest and darkest tonal values of a photograph to achieve a full range of tones from pure white to pure black. This tutorial from the Photo Masters YouTube channel explains how to get the job done for perfectly balanced images.
Instructor Ian Plant is a prominent member of the Photo Masters community of creative photographers that connects passionate enthusiasts with tops pros. In this eight minute episode he describes the topic at hand and illustrates the benefits you'll receive. Plant also provide this spoiler alert: "I actually don't think it's always a good idea to do this."
Plant describes the basics of the technique, and you'll have a better understanding by observing him go through the motions while watching his examples. Simply put, setting the white point involves taking the brightest part of an image and setting it to pure white or just shy of this level. As you might surmise, the reverse is true when specifying the black point.

He illustrates this process with an image of rolling sand dunes captured in Death Valley. Pay close attention to the histogram at the top right of his workspace—just above Lightroom's various exposure sliders. The goal when establishing the white point is to stretch the graph until it hits or almost hits the border on the right.
Conversely a proper black point stretches the graph to the left edge. He uses the white slider in the first instance and the black slider in the second. In either case it's essential to stop short of clipping the highlights or totally crushing the shadows, and Lightroom provides red or blue notifications when you've taken things too far.
Another way to verify the accuracy of these settings is to simply keep an eye on the image itself as you expand the tones in either direction. Depending upon the mood you're attempting to create, you may want to go with your gut rather that adhere to exactly what the histogram recommends.

Plant demonstrates a few other tips and refinements that are worthy of attention. This is an effective technique for most situations, and it's easier enough for inexperienced Lightroom users. There are many more quick tips like this on the Photo Masters YouTube channel.
And don’t miss the post-processing tutorial we featured with a widely acclaimed Adobe expert who demonstrates how to take advantage of Photoshop's updated Object Selection tool that now features precise AI People Masking.
- Log in or register to post comments


