- REVIEWS
Camera Reviews 
More Reviews Mobile Reviews Photography Reviews - GALLERIES
- VIDEOS
- BUYER'S GUIDES
Fill Light; Use Your Flash Outdoors Page 2
 |
|
|
·Try off-camera flash using the appropriate TTL connecting cable accessory
(about $50) that runs from the hot shoe to a remote flash unit. Or use Wireless
Off Camera TTL Flash if available with your camera/flash unit. Ask a friend
to hold the remote flash unit above and to the side of the subject or buy a
flash bracket accessory ($90 and up) that's designed for this purpose.
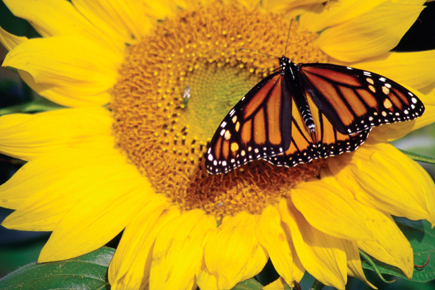
·For gentler illumination, buy a "diffuser" that will spread
and soften the light, such as a LumiQuest, MilaGrid or Gary Fong accessory sold
by major photo retailers. They're most effective when the subject is no
more than six feet from the camera so they're most appropriate for close-up
photos of people and nature subjects.
 |
|
|
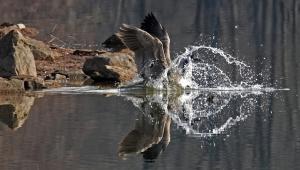
·If you want to photograph birds or mammals using a 300mm or longer lens, you'll need an accessory to extend flash range. The simplest, most affordable ($40) product of this type is the Flash X-Tender or Better Beamer available from several vendors and easily found with a Google search. Employing a Fresnel lens that concentrates the light from flash into a narrow beam, this accessory makes flash useful for distant subjects.
 |
|
|
Some of the advanced techniques may seem complicated but they're quite easy thanks to "intelligent" multi-segment metering and "smart flash" systems. With a digital camera, you have a definite benefit: the ability to review photos immediately. If the effect is not quite right, try slightly different settings or a modified approach. Regardless of the equipment, read the instruction manuals for features and for any tips or flash range data provided by the manufacturer. Once you become proficient with flash in outdoor photography, you'll wonder how you ever got along without it.
|
| |||||||||
- Log in or register to post comments


![]()
Get the Latest Photo Tips, News & Reviews from Shutterbug!
| Camera Reviews Other Reviews | Mobile Reviews Photography Reviews Columns | News | Features | How-To | Resources |
 © 2025 Shutterbug
AVTech Media Americas Inc., USA
All rights reserved