The Wonders of Flash Page 2
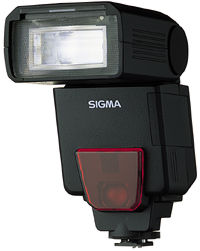
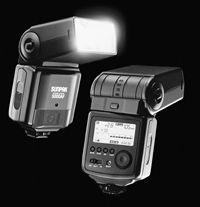
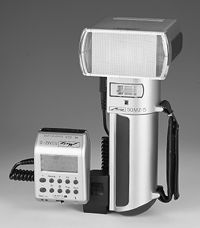
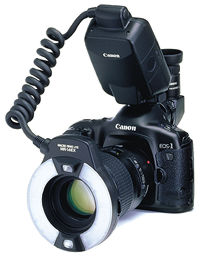
| Getting Ready In order to shoot with electronic flash, there are a few things you must do in preparation. First, read the instruction book that comes with the flash unit (as well as the flash section of your camera manual). Next, install the batteries, as per the instructions. Be sure to use the right type of batteries and to install them properly. It's all in the book. Switch the flash unit on and fire it with the test button to make sure you've installed the batteries properly. Switch the unit off, and attach it to the camera, as per the instructions. Hot-shoe-mount units automatically connect to the camera's flash-sync circuitry; other units require you to link flash and camera with a cord. (And some shoe-mount units can be moved off-camera via a dedicated sync cord, or even wirelessly—more on this later). Today's flash photographers have it easy—besides TTL automatic exposure control (more on this in a moment), today's cameras automatically set the proper flash-sync shutter speed when a dedicated shoe-mount (or built-in) flash is turned on. Focal-plane shutters (found in all of today's 35mm SLR cameras) in effect move a slit across the film to expose it when set to faster shutter speeds (generally, 1/125 or 1/250 and faster with today's cameras), so only the portion of the film that is uncovered when the flash fires will be exposed. If you've ever got back flash photos that are half black, they were shot at too fast a shutter speed. You can always shoot at a slower shutter speed than the camera's flash-sync speed, but never a faster one. Note: With lens-shutter cameras (compact point-and-shoots, many medium-format models and view cameras), the shutter uncovers the entire film frame at one time at all shutter speeds, so any shutter speed can be used for flash photography. |
- Log in or register to post comments

