Wedding & Portraiture
Cheat Sheet For Bride & Groom Portraits
What I wouldn't have
given for something like this when I was new to the business. Here's
a quickie shot list of portraits that you can take the next time you're
photographing a wedding. |
|||||||
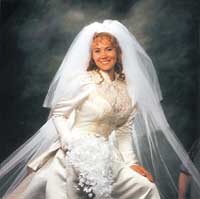
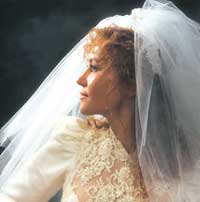
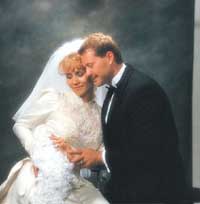
Photo 1. A
3/4 length seated bride is one of my most popular portraits. It shows
great detail in the gown, and shows the bride off at the same time. Notice
how it's cropped--below her knees. Cropping it up higher loses the
balance of the composition and is much less effective. |
|||||||
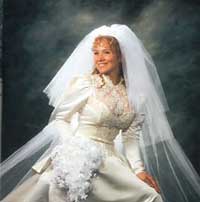
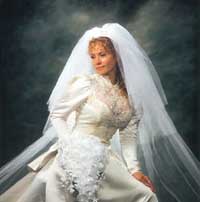
Photo 2. I've
changed practically nothing except to turn her head slightly so that the
camera sees her right eye going almost to the edge of her facial outline
(the 2/3 view of her face). Of course, I've moved my main light,
too, so that I retain the same light pattern on her face that I had in
Photo 1. This "modified loop light pattern" is pretty standard
in most of my portraits, because I feel that it is the most flattering.
At the same time, it creates a nice three-dimensional effect of her face
and body. |
|||||||
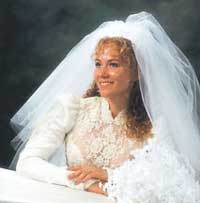
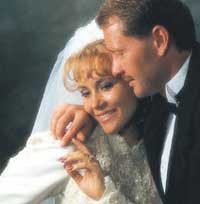
Photo 5. While
she's in that position, I raise the posing table slightly and bring
her hands up to her face. For this picture I've raised the camera,
so that the lens is above her eyes. Notice how her fingers are flowing
upward, not sideways. Hand posing is precise. |
|||||||
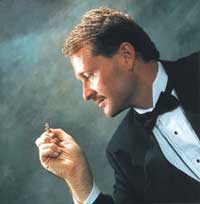
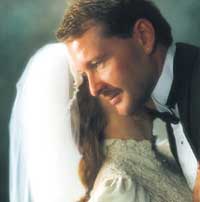
Photo 9. You
have to turn her body to a 45° angle for a profile. Also, lower the
camera, so that you see space between her chin and her shoulder. I usually
tuck the veil and hair behind her profile, so that nothing breaks the
outline of her face. Or I bring the veil forward, so that it begins above
her eye, I like this look, too. |
|||||||
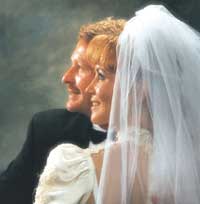
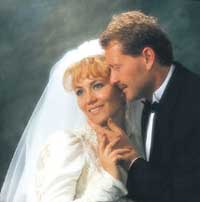
Photo 14.
It's natural to bring the bride behind the groom for this picture.
No change in lighting or camera position. Be sure to keep her face turned
toward the light. Most photographers turn the second person toward the
profile, lighting the back of the head and keeping the face in dark shadow. |
|||||||
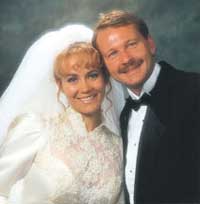
Photo 18.
Here's the exact same portrait with a stronger soft focus filter.
Up until now most of my portraits were with a No. 2 soft focus. For this
one I shifted up to a stronger one. You can't do soft focus, unless
your lighting is direct--no diffusion. If the light is soft to begin with,
this filter will make the picture seem to be either too mushy or out of
focus. |
|||||||
Photo 22.
Then, come in close for a really great picture of their hands. Pretty
simple, huh? |
|||||||
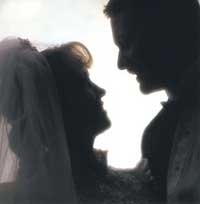
Photo 27.
By simply turning off all your lighting, except for a single light on
the background, you can come up with a perfect double profile. A great
way to end the wedding story, don't you think? |
|||||||
|
|
||||||
|
|
||||||
|
|
||||||
|
|
||||||
|
|
||||||
|
|
||||||
|
|
||||||
|
|
||||||
|
|
||||||
- Log in or register to post comments
