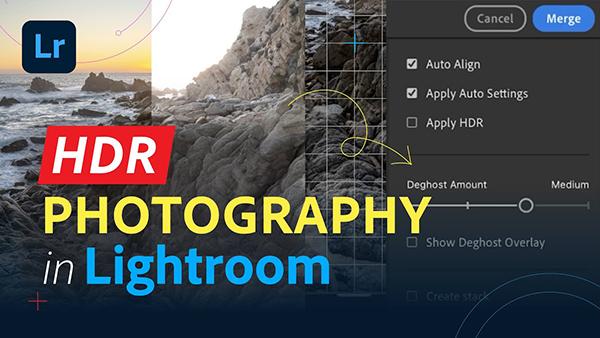
HDR Photos Made Easy: Perfect Details, Midtones & Shadows (VIDEO)

If you're looking for an easy way to transform ordinary photos into breathtaking HDR images in Lightroom, we've got you covered with today's instructional video from the popular Adobe Live YouTube channel. This fast and effective workflow takes barely five minutes to explain and is perfect for inexperienced Lightroom users.
This episode is the latest installment of an eight-part Lightroom series featuring popular instructor Aaron Nace who you've seen on this page many times before. He's a highly photographer, digital artist, and post-processing expert who specializes in simple Photoshop techniques.
Here's how Nace describes the straightforward lesson: "We'll guide you through the process of merging multiple exposures to create a high-dynamic-range (HDR) photo that captures all of the details in your image." The process begins in the camera by shooting multiple images of the same scene—each at a different exposure, and usually three is all you need; one at the "correct" exposure, another one stop under, and a third that's one stop over.

Nace takes the three-shot approach and explains how to use your camera's Exposure-Bracketing feature to capture your trio of photos. In this case he starts off with a landscape image captured at sunset that needs a bit of work. He exposes the first shot for a rock formation in the foreground, the second for the sky, and a third that's really bright.
The merging process begins by shift-clicking on all three images in the film strip at the bottom of the screen. Then he right-clicks to bring up a dropdown menu and selects the Photo Merge option. Lightroom creates a preview that you'll use for the steps that follow. Be sure turn on a medium amount of deghost in case any movement occurred while capturing the sequence.
Nace explains why you should also enable the Auto Align and Apply Auto settings by checking two boxes in the top right corner of the workspace. The merged image that Lightroom provides looks pretty good, but Nace walks you through a few quick adjustments for perfecting the result.

You'll marvel at the effectiveness of this quick technique, especially after comparing the original shot with the transformational file. There are many more instructional post-processing videos on the Adobe Live YouTube channel, so be sure to pay a visit when you have time to explore.
We also recommend watching an earlier tutorial we featured with another image-editing expert who demonstrates a quick Lightroom technique that delivers fast and precise White Balance in every photography you process.
- Log in or register to post comments


