Three Essential Film Filters
Vs. Digital Filter Software
| A lot has been made about
filter use these days. There are those who use no filters at all, relying
on the "natural look." Of course, with the various color
biases of film, I'm not quite sure what film's natural look
is. There are those who use filters liberally, subjectively altering
and interpreting their images. And there are those who use filters sparingly.
In the digital world, the questions are different. How do filters alter
the digital image? Which ones work more accurately on the lens and which
ones need to be applied using software? |
|||
Warming Effect |
|||
Here is the same image with an 81A glass filter placed on the lens. By removing the blue cast, the 81A adds a warm or amber tonality. |
|||
Here the warm effect is added in Photoshop using the nik Color Efex Pro! Brilliance/Warmth filter. This software filter has brilliance and warmth sliders which enable you to emulate various degrees of warmth. The equivalence in glass filters would be 81A, 81B, 81C, and 81EF. I was able to add an 81C effect to this image, which is more intense than the previous example using the 81A glass filter. |
|||
Polarizing Filter Effect |
|||
This scene is actually at a 90Þ angle to the sun, which is the best case for getting the maximum polarization, therefore greatest color saturation, and maximum blueness in the sky. |
|||
Polarizers take much more artificial
intelligence than other digitally applied filters. Here is nik's
Digital Polarization filter. It falls in between the two shots with and
without a polarizing filter. Of course, more time at the computer working
on selective color saturation would bring about a much closer version
to the glass filter polarization. But, given the complex nature of digital
polarization, nik's Digital Polarization filter is impressive! There
are two controls where you can digitally rotate the polarizer and control
the strength of the polarization. |
|||
|
|
||
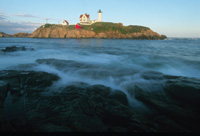
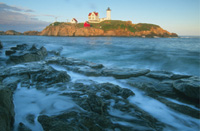
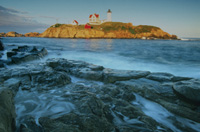
Split Graduated Neutral Density These filters are amazing in that they make images that are otherwise impossible to capture. These filters lower the contrast range by masking the highlights thus rendering detail in very dark and very bright areas, rather than blowing out the highlights or blackening shadows. The following examples are illustrative of using graduated neutral density filters. The first two images are shot without the use of the graduated neutral density filter and illustrate the different results based on metering. On this first image, (above left) I metered the rock where the lighthouse is. As you can see, the foreground rocks and water are severely underexposed. On the next image, (above right) I metered the foreground water, severely overexposing the lighthouse rock. |
|||
|
|
||
Note to digital shooters:
The polarizing filter can be used on your lens without any problems on
any setting. Auto white balance will compensate for all filters placed
on the lens, basically canceling out the desired effect. When shooting
in raw mode, all filters will act as if you were using film, and the desired
effect will be apparent. |
|||
- Log in or register to post comments
