- REVIEWS
Camera Reviews 
More Reviews Mobile Reviews Photography Reviews - GALLERIES
- VIDEOS
- BUYER'S GUIDES
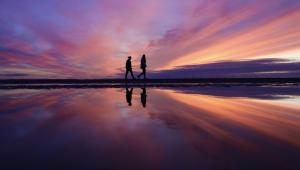
Your High ISO Photos Will NEVER Be Noisy Again! (VIDEO)

Today's quick tutorial from instructor Mark Dumbleton begins with an important question: "Are you unknowingly sabotaging your chances of eliminating noise at extremely high ISO settings? Because there's a good chance that you are." If so, that's about to change once you watch the quick video below.
Dumbleton promises to demonstrate a time-proven post-processing workflow that delivers "incredibly clean and sharp results" so you don't have to worry about bumping up ISO when dealing with low-light situations, long exposure effects, action shots, and much more.
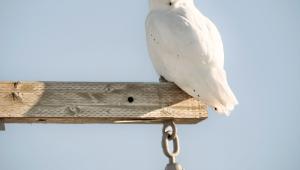
You'll learn why starting with a well-exposed image is essential for achieving optimum results. But let's assume you already have a noisy photo that needs to be repaired. Dumbleton's demonstration shot is a properly exposed bird photo captured at ISO 12,800. It looks quite sharp but the noticeable noise is a real image killer unless these ugly distractions are eliminated.
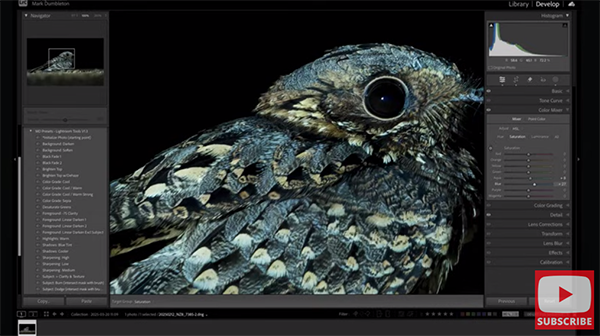
In barely nine minutes Dumbleton demonstrates a step-by-step method for transforming this noisy mess into a portfolio-worthy final image that's both sharp and surprisingly clean. The first thing he does is run the shot through DXO Pure Raw, a popular noise-reduction plugin that he prefers to Lightroom's AI Denoise for reasons he explains. Pay close attention to the bird's beak.
Dumbleton explains the best settings to use for retaining necessary detail while banishing the noise and conveys this important fact: "When you shoot at very high ISOs your image will naturally lose a lot of character and sharpness," unless you address this challenge by following the Lightroom workflow that Dumbleton explains next.
He first refines composition with a quick, thoughtful crop that give his subject a bit more space on the right side and bottom of the frame. He chooses the Adobe Standard profile and analyzes the photo from a local, not global perspective, meaning that his plan is to independently target different portions of the shot and enhance them as needed through the use of simple masks.
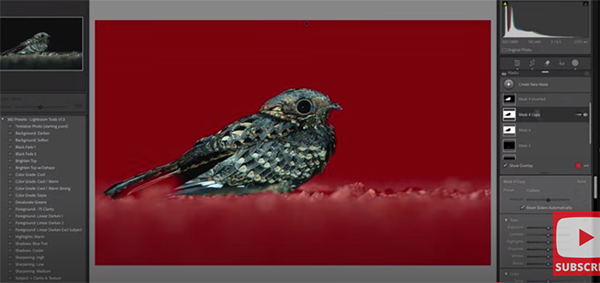
Once the tones are accurately balanced and the bird is clearly isolated he slightly boots Exposure, modifies Contrast, and applies a Radial Gradient to slightly drop highlights on the brightest part of the bird. He also tweaks color, vibrance, and saturation to create a cooler look while adding a bit of magenta to fix an overall green cast.
Dumbleton makes a few more important enhancements in the final minutes of the video to complete his impressive transformation. Once you're done watching head over to his popular YouTube channel where there are many more how-to videos to be found.
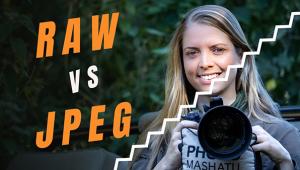
And don't miss the eye-opening tutorial we featured recently with another image-editing expert who takes a deep dive into the difference between RAW files and Jpeg images and recommends which file format is best for your style of photography. Prepare to be surprised.
- Log in or register to post comments


![]()
Get the Latest Photo Tips, News & Reviews from Shutterbug!
| Camera Reviews Other Reviews | Mobile Reviews Photography Reviews Columns | News | Features | How-To | Resources |
 © 2025 Shutterbug
AVTech Media Americas Inc., USA
All rights reserved