Photoshop Basics: SELECTION Tools Made Easy (VIDEO)

Today’s Photoshop primer is designed to broaden your editing skills by demonstrating how to use simple selection tools that can make a big difference in your photos. Whether you’re creating a fun special effect or engaged in a more “serious” task, the video below explains everything you need to know.
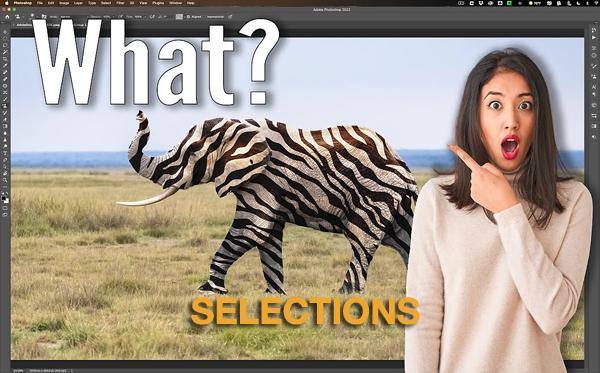
For this demonstration image-editing expert Anthony Morganti takes a fanciful approach to demystifying several of Photoshop’s basic Selection tools as he paints zebra stripes on an elephant. Once you get the hang of using selections, which doesn’t take long, you’ll wonder why you never employed these tools in the past.
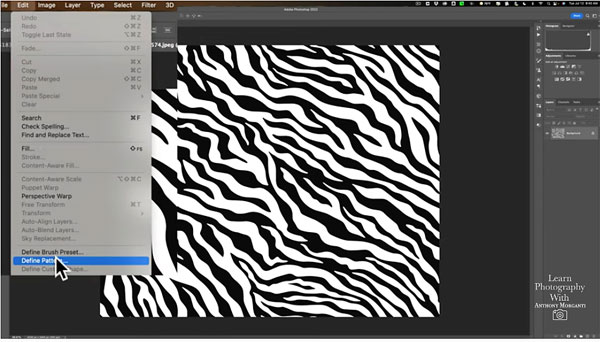
Morganti uses two photos (which you can download for practice), one of an elephant in the field and another of a zebra pattern. After loading the pattern into Photoshop and giving it a name, he illustrates why placing the zebra stripes uniformly over the body looks really wrong.

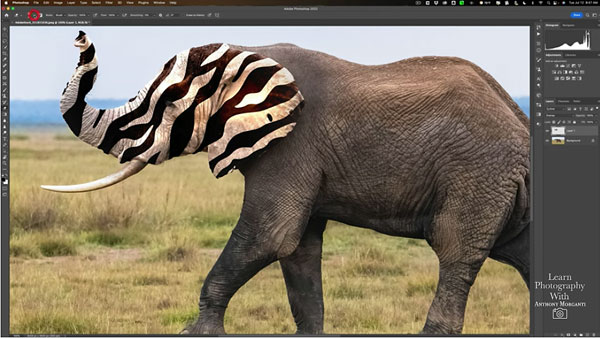
For a more “realistic” look, he places the pattern over the elephant’s head, and a variation of the pattern over the body. And this is where Photoshop’s Selection tools make things happen—in a very effective way.
Morganti goes back to his original pattern (which he defined as Zebra-1), rotates it 90°, and creates “Zebra-2.” Now there are two versions of the zebra stripes with which to work.
The next step is pulling up Photoshop’s Selection tools, using the keyboard shortcuts Morganti provides to identify the best option for the task—in this case the Object Selection tool. From there, it’s a simple matter to make a selection of the elephant’s head.

As you probably suspect, you’ll repeat the process to make another section, this time of the elephant’s body. Then it’s a relatively simple matter to use the two zebra patterns you created earlier to finish the transformation.
There are many more editing tip and tricks on Morganti’s YouTube channel, so be sure and pay a visit.
And for another basic tutorial, check out our recent post explaining a simple method for enhancing dull skies in Photoshop.
- Log in or register to post comments


