- REVIEWS
Camera Reviews 
More Reviews Mobile Reviews Photography Reviews - GALLERIES
- VIDEOS
- BUYER'S GUIDES
The ESSENTIAL First Photo-Editing Step That You Likely Ignore (VIDEO)

We often discuss the importance of applying post-processing tools is a specific sequence, and why not doing so may compromise the quality of your results. This eye-opening tutorial from the PHLOG Photography YouTube channel reveals an "essential" preliminary step that many Lightroom users ignore.
Should you begin with cropping, sharpening, exposure modifications, masking, or color enhancements? According to instructor Christian Mohrle, none of these common adjustments are where you should begin. Instead, his answer is selecting the best Lightroom Profile for the specific image at hand.
Mohrle is a notable landscape photographer based in Southern Germany near beautiful Lake Constance. His image-editing tutorials are among the post popular that we post, and if you've been paying attention you know that his everyday workflow starts with the Color options dropdown within Lightroom's Basic panel where the various Profiles reside.
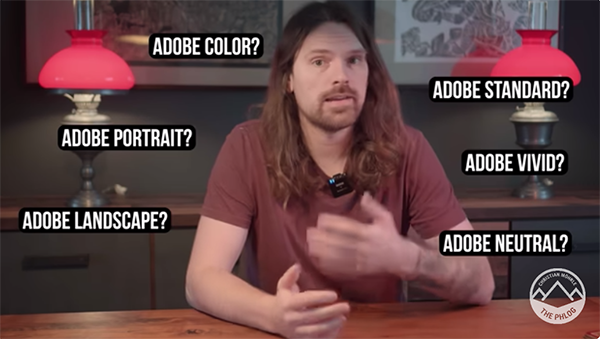
This lesson is all about understanding the most appropriate Profile to use when, and there are several choices available. These include what Adobe refers to as Neutral, Color, Standard, Landscape, Portrait, and Vivid. Making the right choice up front helps you create the best possible starting point for all of the global and selective adjustments that follow.
Understanding the differences will be much easier if you hold off on clicking the Play button until you download Mohrle's demonstration Raw file with a link beneath the video so you can experiment with the various settings in real time as they're explained. The concept is pretty simple: "The image will look different depending upon which Profile we use. Some Profiles have more contrast, others are more saturated, and there are options that deliver softer, flatter results."
Then there's another key consideration; namely, the manner in which Profiles differ from presets when it comes to achieving a specific look. Once you get the hang of this, and it doesn't take long, Mohrle walks you his complete workflow for editing his long exposure photograph from beginning to end, with simple global adjustments, selective masking, color grading and sharpening.
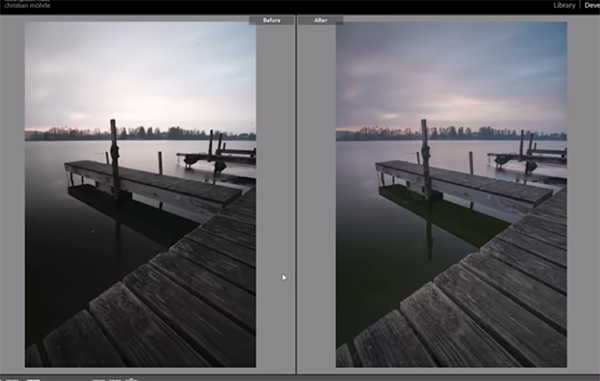
Mohrle's final result would appear far less impressive (or more difficult to achieve) had he chosen a less appropriate Lightroom Profile at the onset of the project. Once the lesson concludes pay a visit to the instructional Phlog Photography YouTube channel where there's much more great advice for expanding your skills.
And on a related note, don't miss the earlier tutorial we featured with another top expert who demonstrates how to capture spectacular landscape photographs when you have no choice but to shoot in harsh, contrasty, midday light.


![]()
Get the Latest Photo Tips, News & Reviews from Shutterbug!
| Camera Reviews Other Reviews | Mobile Reviews Photography Reviews Columns | News | Features | How-To | Resources |
 © 2025 Shutterbug
AVTech Media Americas Inc., USA
All rights reserved