- REVIEWS
Camera Reviews 
More Reviews Mobile Reviews Photography Reviews - GALLERIES
- VIDEOS
- BUYER'S GUIDES
Kicking Up Your Color...Selectively
 |
|
|
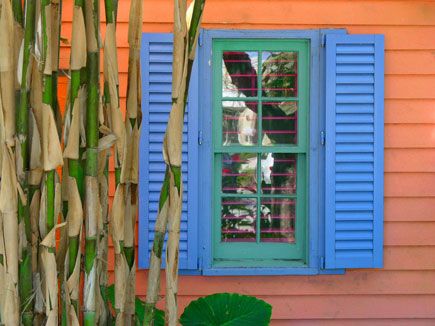
1) Here's the shot right out of the camera. This was photographed in the shade and the colors came out a bit flat. But the tropical colors and plants here almost beg for some enhanced saturation.
 |
|
|
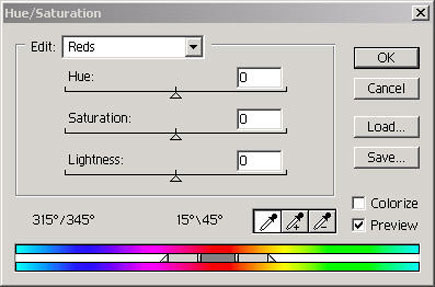
2) Rather than saturate all the colors at once, which is of course an option, we're going to work on some of the colors in the scene one at a time. That way we can dial up the color saturation to exactly the degree we want. The first step is opening an Adjustment Layer>Hue/Saturation. When you open this control your first option is Master, which will affect all the colors equally. But to work with select colors use the pulldown menu in the dialog box and choose each color...here we've chosen Blue.
 |
|
|
3) Here's what the shutters look like when we boost the Blue.
 |
|
|
4) The next area we want to effect is the clapboard wall. Here we chose a Red in the Hue/Saturation dialog box as an Adjustment Layer.
 |
|
|
5) Here's what it looks like when we boost the red.
 |
|
|
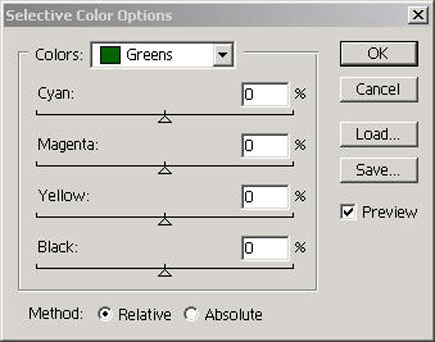
6) Now we'll take another tack to affect the green. We open another Adjustment Layer, this time Selective Color, and choose Green.
 |
|
|
7) Here's what happens when we boost the green.
 |
|
|
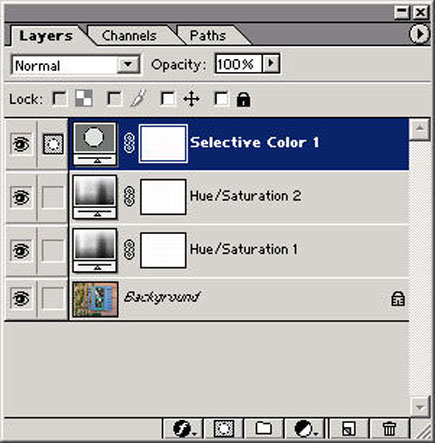
8) Here's the Layers palette showing the different steps.
So next time you want to play with color, think selectively.
Camera: Canon PowerShot S60
Software: Adobe Photoshop 7
Want to learn more about Adobe Photoshop? Visit their web site at www.adobe.com. Want to learn more about the Canon S60 Powershot? Visit their web site at www.canonusa.com.
- Log in or register to post comments


![]()
Get the Latest Photo Tips, News & Reviews from Shutterbug!
| Camera Reviews Other Reviews | Mobile Reviews Photography Reviews Columns | News | Features | How-To | Resources |
 © 2025 Shutterbug
AVTech Media Americas Inc., USA
All rights reserved