How to Edit Wildlife Photos with Feathers & Fur (VIDEO)

Wildlife and portrait photographers face similar challenges when it comes to editing their images. That’s because dealing with feathers and fur requires comparable techniques to those used for processing photos of models with flyaway hair.
Today we’ll leave portrait editing for another time, and concentrate on our furry and feathered friends. Whether you photograph captive animals or those in the wild, the tips in this tutorial will streamline your editing and help you achieve optimal results.

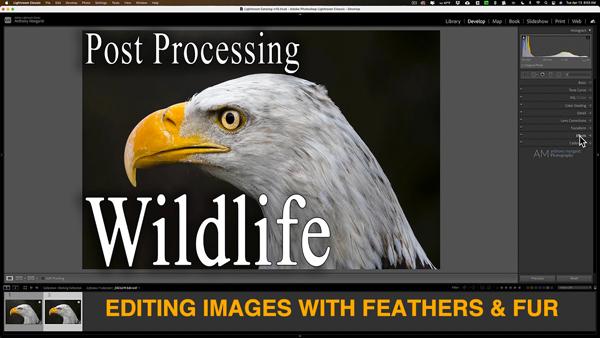
In less than 20 minutes image-editing expert Anthony Morganti demonstrates his entire workflow for editing wildlife image with prominent feathers or fur. And as you can imagine, these tips will also come in handy with photographs of your pets.
For this episode Morganti is working in Lightroom, but his method can be used with Photoshop or just about any editing program you have. As is often the case, the order is which adjustments are made is important for best rests. Morganti also explains his preferred method of sharpening images once the primary adjustments are complete.

Morganti begins with some quick fine-tuning of saturation, and uses Lightroom’s Highlight/Shadow sliders to adjust whites and blacks. He then explains how to add a bit of contrast with the Tone Curve and reduce color noise if necessary after deciding which noise reduction mode is best for the image at hand.
At this point you’ll see Morganti’s approach for sharpening the image, which depends upon whether the softness is due to camera shake, missed focus, or subject movement. The final step is deemphasizing the background and adding a vignette.
So try this method on photos of birds, furry animals, and perhaps even a portrait model and you’ll like what you see.
You can find more helpful tips on Morganti’s YouTube channel, and in our earlier post describing the best way to shoot super sharp wildlife photographs.
- Log in or register to post comments


