How to Avoid DESTRUCTIVE Editing in Photoshop (VIDEO)

If you’re unfamiliar with the term, “destructive editing” occurs when you process an image in a way that overwrites the original file and there’s no way to undo the adjustments once the image is saved. In other words, if you make a mistake, you’re out of luck.
Some photo editors like Lightroom, Capture One, and work in a non-destructive way. But, depending upon the enhancements you make, that’s often not the case with Photoshop.
In this tutorial from expert Anthony Morganti, you’ll learn how to avert disaster by using Photoshop in the least destructive way possible, so you can revert to the unedited photo when necessary. By following his workarounds, Photoshop won’t be as “unforgiving” as you thought.

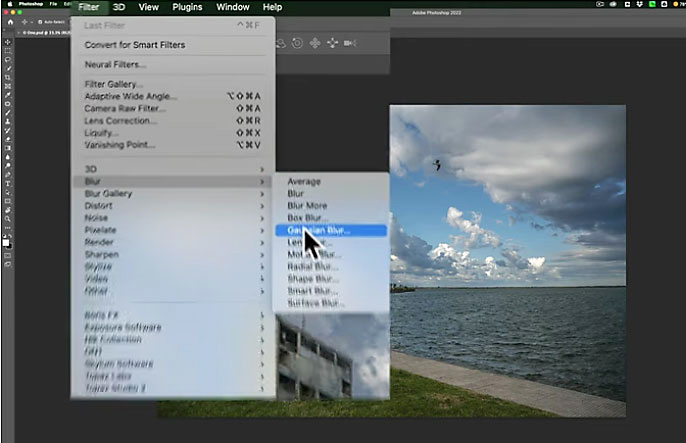
Morganti begins with the example of adding filters—in this case some Gaussian Blur to a seaside photo. He intentionally goes overboard to show what happens when attempting to undo the effect.
As you’ll see, the blur he added seems baked in, because moving the intensity slider all the way down doesn’t change the image. But here’s the trick: Photoshop remembers the last 50 adjustments you made. So a quick trip to the History tab enables you to revert to the previous step before the blur filter was added.
Unfortunately, this technique isn’t always foolproof, and Morganti explains why, but he demonstrates several alternative solutions when that occurs. You’ll also see how saving the final image as either a PSD or TIFF file preserves the layers so you can modify the adjustments when you reopen the image.

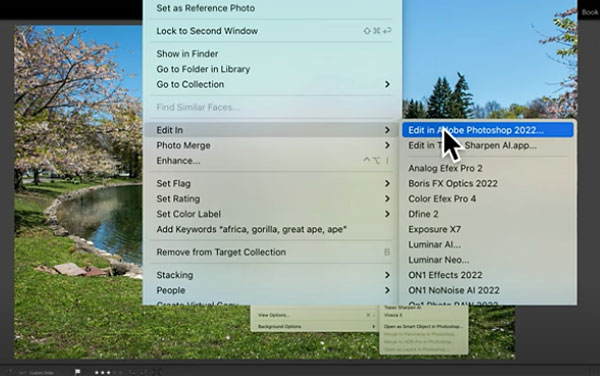
Morganti demonstrates other examples of destructive editing and simple workarounds, as well as potential pitfalls that may occur when using Photoshop and Lightroom in tandem.
You can find more helpful editing advice on Morganti’s YouTube channel, so be sure to take a look.
And check out another editing tutorial we posted recently, explaining how to simplify Photoshop’s default interface for faster more-efficient processing.
- Log in or register to post comments


