- REVIEWS
Camera Reviews 
More Reviews Mobile Reviews Photography Reviews - GALLERIES
- VIDEOS
- BUYER'S GUIDES
Here’s Why B&W Photos Fall Short & What to Do About It (VIDEO)
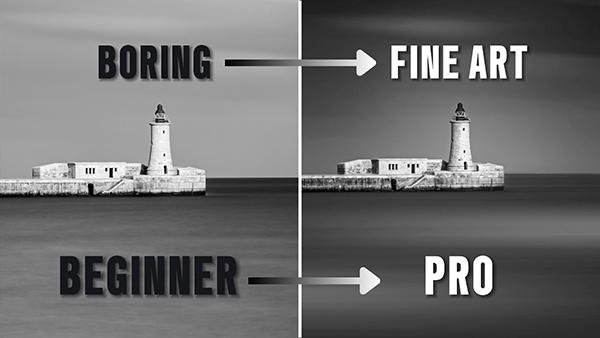
Photographers who've done enough shooting outdoors know that some scenes appear far more compelling in b&w. The challenge is that after a monochrome conversion, some photos are significantly less dramatic than expected. We're going to fix that in the next 15 minutes.
Photographer Richard Brockwell is an experienced pro with a passion for finding new ways to create amazing images and sharing his discoveries with others. Here's how he describes his goal for this latest episode: "We'll guide you through the essential techniques of dodging and burning to enhance monochrome images by creating more depth and contrast that brings photos to life."
Brockwell's sample image looks pretty good, until you view the results of his high-powered transformation. The technique can be accomplished in Lightroom or Adobe Camera Raw (ACR), and it's easy enough for users of all skill levels—whether your intent is Fine Art imagery or you just want to create b&w photos that look better than ever.
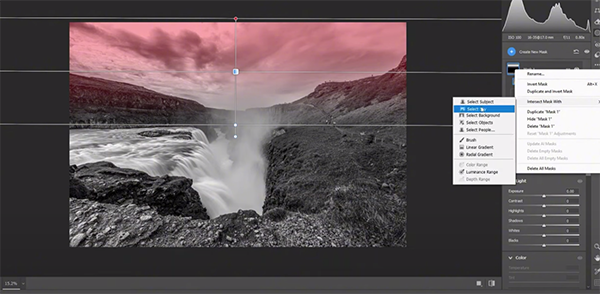
The first steps occur in Lightroom's Exposure panel. Brockwell uses simple sliders to reduce Highlights and Shadows to increase detail in both the sky and dark areas within the frame. He says that "I always move the Whites slider to the right until I see clipping on the Histogram, and then dial it back until they're gone." He does the same thing for the Blacks.
Brockwell also increases Contrast and reduces Exposure "so we level out our Histogram." Now the image is significantly improved, and it's time for masking to selectively enhance certain areas in the frame while leaving others untouched. He introduces two Linear Gradients over the sky and refines these selections so they don't intrude on the top of the tallest hills.
A third Linear Gradient is applied over the foreground so Brockwell can modify exposure in this area as he did with the sky. At this point he places a Radial Gradient over the brightest parts of the image which he uses instead of a brush to create the dodge and burn effect—making sure that Feathering is set to a value of 100.

There are a few more important steps that Brockwell demonstrates in the latter part of the video, and these are just as straightforward as those mentioned above. When the transformation is complete, all you can do is sit back and say "wow." Give this method a try and you may just realize that you created a Fine Art photograph after all.
There's much more to learn on Brockwell's robust YouTube channel, so be sure to pay a visit when you have time to explore.
And don't miss the earlier tutorial we featured with another landscape pro who demonstrates how easy it is to create unique landscape photographs by shooting at night with very simple equipment.
- Log in or register to post comments


![]()
Get the Latest Photo Tips, News & Reviews from Shutterbug!
| Camera Reviews Other Reviews | Mobile Reviews Photography Reviews Columns | News | Features | How-To | Resources |
 © 2024 Shutterbug
AVTech Media Americas Inc., USA
All rights reserved