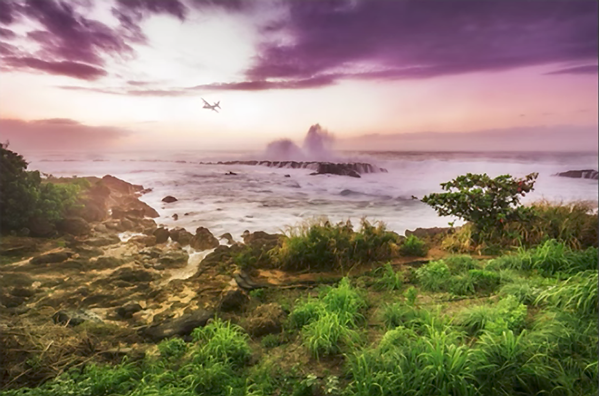
Give Your Landscape Photos a Boost with Photoshop’s Selective Color Adjustments (VIDEO)

Yesterday we provided three tips for shooting great landscape photos under drab gray skies. In the tutorial below we’re going to show you an editing technique for pumping up nature photos you’ve already taken.

Blake Rudis is an expert at concise image-editing tutorials, and in this video he explains why Selective Color is one of Photoshop’s best-kept secrets. Rudis demonstrates how to give landscape photographs a significant boost while maintaining a natural look.

Rudis says Selective Color layers work on the principle of color mixing and provide a precise means of increasing or decreasing one or more specific colors without affecting others. So if you want to warm up a sunset photo that’s predominantly blue, for example, you can go into the Selective Color adjustment layer and modify the percentages of that hue by increasing the amount of red within the blue color.
You’ll also see how this tool enables you to make grass and foliage greener and how to give your images a “cinematic” effect. Visit the f64 Academy for more Photoshop tricks, and be sure to review the story we posted yesterday with three great tips for shooting landscapes under boring light.
- Log in or register to post comments


