- REVIEWS
Camera Reviews 
More Reviews Mobile Reviews Photography Reviews - GALLERIES
- VIDEOS
- BUYER'S GUIDES
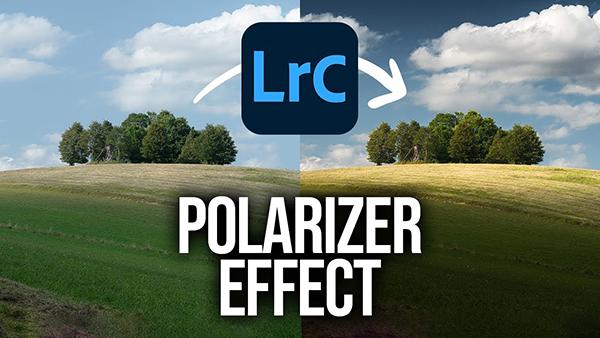
Give Nature Photos a Polarized Look If You Didn't Use a Filter (VIDEO)
Many landscape photographers never leave home without a polarizing filter in their bag. This simple accessory serves a variety of purposes from darkening pale blue skies and enhancing colors, to reducing reflections on foliage and non-metallic surfaces like water.
This helpful tutorial from the PHLOG Photography YouTube channel explains why all is not lost if your polarizer is damaged (or at home) by demonstrating how to create a natural-looking polarization effect in Lightroom. You can take advantage of this straightforward technique when processing just about any photo that you capture outdoors.
Instructor Christian Mohrle is a highly acclaimed German landscape photographer whose shooting and editing tutorials appear regularly on this page. Be sure to download his sample Raw with a link beneath the video so you can follow along and make the adjustments in real time as the steps are explained.
Mohrle always begins with a few basic adjustments to the overall image so it serves as a good starting point for the selective enhancements that follow. The first step is changing the profile from Adobe Color to Adobe Standard which provides more control over Contrast later on in the process. He also modifies White Balance to warm up the shot, slightly increases Exposure, drops the Highlights, boosts Texture, and cuts Dehaze.
Other preliminary adjustments include increasing Vibrance to accentuate all the colors in his scene. With the basic modifications complete, the fun begins as Mohrle turns his attention to creating the powerful polarization effect.
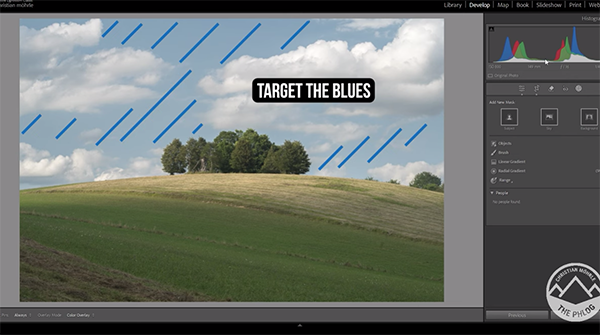
This process targets specific areas with the frame, so Mohrle opens Lightroom's Masking panel to make these selective enhancements. This image is a perfect candidate for this approach because of the pale blue sky that’s filled with puffy white clouds. As you'll see, he boosts Contrast in the top half of the frame by employing a Color Range mask.
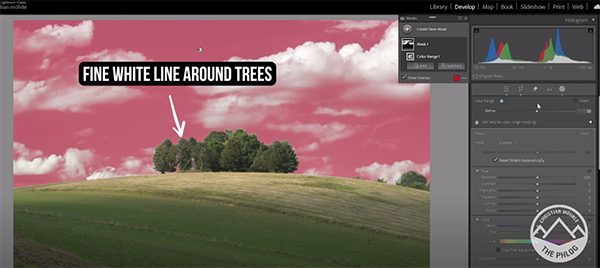
Mohrle's sky selection exhibits a fine line around the big trees in the background, but there's a quick and easy fix. Then he applies a Linear Gradient targeting shadows in the foreground and uses an Object mask to enhance the green groundcover in the middle of the frame.
All that's left to compete the impressive transformation are some careful color grading, a bit of judicious sharpening, and a very quick cleanup in Photoshop. Compare Mohrle's before/after images and you'll appreciate the power of this straightforward technique.
We also suggest watching the tutorial we featured recently with another post-processing expert who demonstrates how to use Photo Merge in Lightroom to create beautiful HDR photographs with perfectly balanced tones.
- Log in or register to post comments


![]()
Get the Latest Photo Tips, News & Reviews from Shutterbug!
| Camera Reviews Other Reviews | Mobile Reviews Photography Reviews Columns | News | Features | How-To | Resources |
 © 2024 Shutterbug
AVTech Media Americas Inc., USA
All rights reserved