- REVIEWS
Camera Reviews 
More Reviews Mobile Reviews Photography Reviews - GALLERIES
- VIDEOS
- BUYER'S GUIDES
Easy Sepia Tone Effects
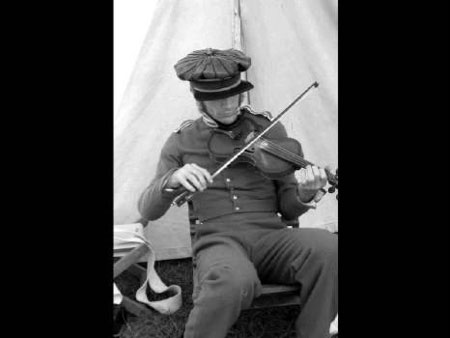
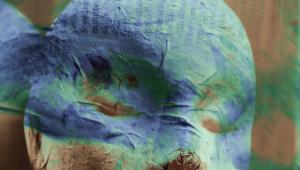
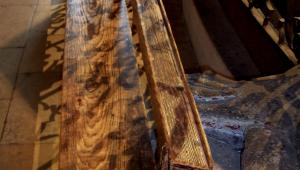
Take sepia toning, for example. Say you wanted to get a sepia tone image from
a color shot, made on negative film, like this one from a war camp reenactment.

In olden times here's what you'd have to do, depending on what
you exposed the image on in the first place:
1) From slides: Make an internegative, which meant you'd
have to expose or contact print the slide onto a sheet of film. This would create
a negative image from which you could print. You'd then have to develop
that film.
2) From a color negative: Make a print on a special (Panalure)
paper that would render, the a certain extent, the colors on the negative to
s decent range of tonal values on the print. The print would have to developed
under special safelights, as the Panalure paper would fog under normal safelight
conditions.
3) From a black and white negative: Make a print.
Once that was done you'd have to mix a metallic toner bath, composed mostly of sulphides, which, frankly, stunk like rotten eggs. This stuff attacked your sinuses and made everyone within sniffing range upset at your weird alchemical practices. Sepia toner consisted of two baths--one to bleach the print (composed of potassium ferricyanide, nasty stuff indeed) and then the other, the sulphide bath, in which you then "redeveloped" the image back with a golden, sepia tone. And getting the bleach/redevelop ratio right took some practice. You then had to dry the print, etc. Total time for all this: about two hours, with cleanup.
Well, the results were very nice, and the print, being protected by the metallic toner, was indeed long-lasting. But consider what you can do now with a digitized image, or digital image made with a digicam to create the same image effect. We'll use Photoshop Elements 3 here, but other image manipulation programs offer similar methods.
1) Open the image in the software.
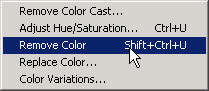
2) Choose Enhance>Remove Color
3) Once that's done you have a monochrome image.
4) Open Enhance>Adjust Color>Adjust Hue/Saturation.

5) Click ON the colorize box and then just slide the Hue adjustment
until you get just the tone you want, and then the Saturation and Lightness
slider to taste.
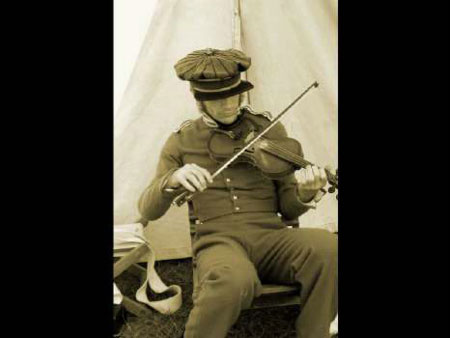
Here's the final result.
Total time: about 20 seconds. Then make a print, which might take from a minute to more, depending on your printer and the size you print. No chemicals to mix and clean up, and no rotten eggs smell wafting around your house or apartment.
- Log in or register to post comments


![]()
Get the Latest Photo Tips, News & Reviews from Shutterbug!
| Camera Reviews Other Reviews | Mobile Reviews Photography Reviews Columns | News | Features | How-To | Resources |
 © 2025 Shutterbug
AVTech Media Americas Inc., USA
All rights reserved