- REVIEWS
Camera Reviews 
More Reviews Mobile Reviews Photography Reviews - GALLERIES
- VIDEOS
- BUYER'S GUIDES
The Difference Between Lightroom's 2-Best Color Tools (VIDEO)

Outdoor photographers go to great lengths when editing photos for perfect color, and there are a variety of common methods for accomplishing the task. This tutorial from the PHLOG Photography YouTube channel cuts through the grease by explaining "the difference between Lightroom's two most important color grading tools."
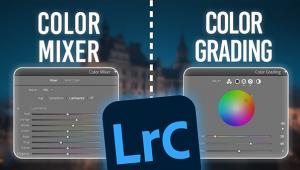
Instructor Christian Mohrle is a highly acclaimed German landscape shooter whose straightforward how-to videos are among the most popular that we share. Today's episode compares Lightroom's Color Mixer tool to the renamed Color Grading tool (formerly known as Split Toning). In less than 15 minutes you'll understand the best approach to take depending upon the specific image at hand.
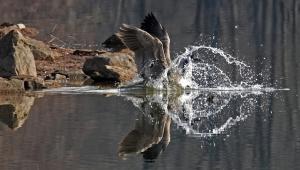
Feel free to download Mohrle's demonstration image with a link in the description beneath the video if you want to follow along and make the adjustments yourself as they're explained. He begins with several basic global adjustments to prepare his photo for the transformational selective enhancements that follow, and the first step is merging a five-shot HDR file.
Mohrle then expands Lightroom's Basic panel and changes the profile from Adobe Color to Adobe Landscape which instantly boosts Saturation. The next steps include increasing overall exposure, slightly dropping Highlights, and opening Shadows to achieve greater detail in the darkest portions of his scene. He also modifies White Balance to fix an unnatural green cast.
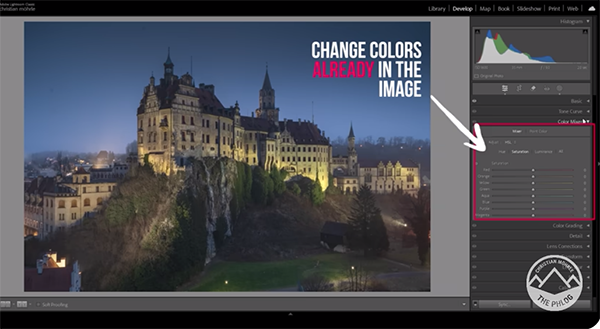
Mohrle completes the preliminary adjustments with an increase in Texture and Clarity for a sharper look and a slight decrease in Vibrance. The fun part now begins by employing masking to introduce a variety of local enhancements to balance out all the tones, and the first step is a very simple sky selection to darken the top half of his shot while taking care not to bias a majestic building that extends above the horizon.
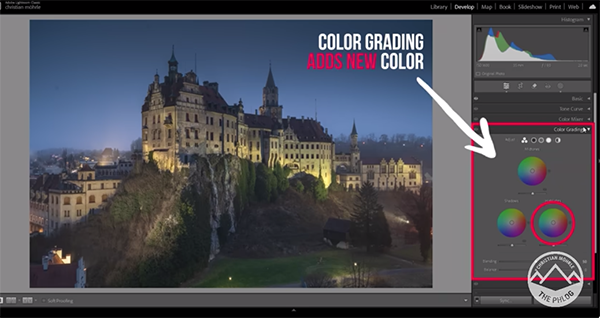
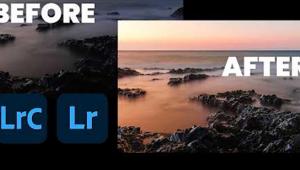
Now it's finally time for Mohrle's to explain the difference between Lightroom's Color Mixer and Color Grading tools so that you understand why, when, and how which approach is most effective. He completes the impressive edits with a bit of calibration and vary careful sharpening. Check out the before/after images and you'll agree.
Mohrle's instructional YouTube channel is a great source of shooting and editing information for all outdoor photographers, so be sure to take a look and explore.
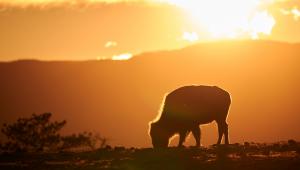
We also encourage you to watch a behind-the-scenes tutorial we featured recently with an accomplished pro who demonstrates how to create attention-grabbing landscape photographs in the camera by including spectacular sunstars in the scene.
- Log in or register to post comments


![]()
Get the Latest Photo Tips, News & Reviews from Shutterbug!
| Camera Reviews Other Reviews | Mobile Reviews Photography Reviews Columns | News | Features | How-To | Resources |
 © 2025 Shutterbug
AVTech Media Americas Inc., USA
All rights reserved