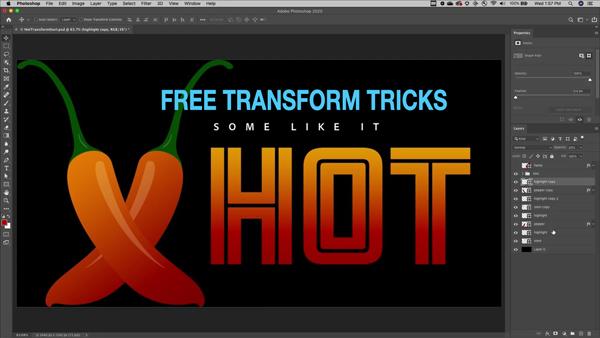
10 Tips in 2 Minutes for Using FREE TRANSFORM in Photoshop (VIDEO)

Photoshop’s Free Transform tools handle a number of important tasks, and they do so with precision. This feature enables you to alter an object in a variety of ways, by rotating, scaling, flipping, or distorting a selection with relative ease.
The video below from “digital imaging evangelist” Julieanne Kost makes using Free Transform as simple as possible, and she provides keyboard shortcuts to speed up the process. Kost is known for both in-depth tutorials and quick tips, and this episode falls into the latter category—with 10 great tricks in just two minutes.

Kost demonstrates her advice in a rapid-fire manner, so be sure to have pen and paper handy so you can jot down a few notes. She begins by explaining how to transform the background of an image by clicking on Photoshop’s Lock icon to convert it to a layer.
Kost then demonstrates how to display transformation controls at all times by going to the Move tool and choosing the Show Transform Controls option. By default, Photoshop transforms the contents of a layer proportionally as you drag on any of the anchor points, but you’ll learn a simple way to transform freely if you so desire.
There’s a trick for quickly cancelling a transformation, and another for transforming multiple objects at once. Other handy techniques include transforming from the center of an object, rotating the selection, and a simple way to snap the transformation in 15-degree increments.

Kost demonstrates several more tricks for making the most of Photoshop’s Free Transform Tools, and once you get the hang of it you’ll be using this feature more than ever.
You can find more quick tips, as well as in-depth editing lessons on Kost’s popular YouTube channel.
And speaking of quick and easy, check out the earlier tutorial we posted, explaining a unique method for making distracting elements “disappear” from your photos.
- Log in or register to post comments


