Properly saturated colors can make or break a photo: Too much color makes images appear unnatural, while not enough may result in a dull or boring image. This quick Lightroom tutorial reveals an often ignored Light tool that enables you to quickly achieve the perfect compromise.
Vignettes are a great tool for improving the impact of photos captured indoors or out. They can help guide a viewer's eyes through an intricate scene and emphasize the primary element within the frame.
The affordable polarizing filter is a favorite accessory among experienced outdoor shooters because of the way it darkens blue skies, improves saturation, and eliminates unwanted reflections from non-metallic surfaces. All you have to do is turn the rotating ring until you see the effect you desire.
We've all captured photos with ugly noise artifacts that spoil an otherwise great shot—a problem that often occurs when using high ISO settings or shooting in low light. But don't be so quick to delete noisy photos because in the next five minutes you'll learn what one expert calls a "magic" Lightroom solution.
Today's post-processing tutorial is unusual because it doesn't involve improving the look of an image in any way; no color or exposure modifications, sharpening tricks, or any other enhancements. The quick video is important nonetheless because it demonstrates how to significantly streamline your workflow.
Adobe expert and educator Colin Smith is back with another quick-and-timely post-processing tutorial that anyone can master quickly. In this video he explains the concept behind Photoshop's new Frame tool capabilities. Then he walks you through the step-by step method for using them to advantage.
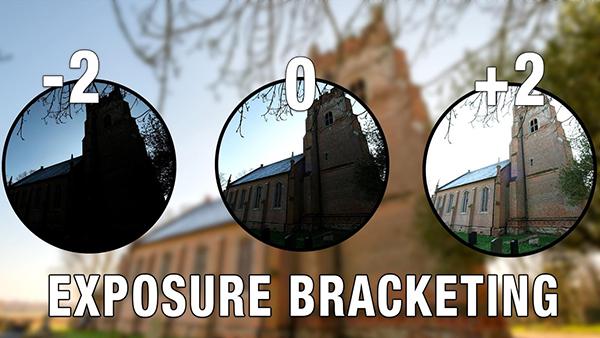
Have you ever marveled at breathtaking images with a wide range of colors and impeccable exposure in different portions of the frame, and wondered how the photographer created such amazing balance? Today you'll learn the straightforward secret you're missing.
Experienced outdoor photographers understand why some scenes beg to be rendered in b&w, and there are two ways to get the job done. You can either set the camera to capture in monochrome or shoot in color and make the conversion during post processing.
It can be difficult to nail exposure when photographing complicated landscape scenes, especially when snow covers the ground and can easily "fool" your camera's light meter. This tutorial from the PHLOG Photography YouTube channel provides a quick-and-effective fix using Lightroom's Tone Curve tools.
Inexperienced Lightroom and Photoshop users often concentrate on sharpening and exposure adjustments while ignoring the task of enhancing colors because they fail to understand how color grading works. If this describes the workflow you use, today's beginners guide is exactly what you need.
Professional photographers spend years studying, practicing, and refining their shooting and editing techniques before really hitting their stride, and this video from an accomplished pro is intended to shorten your learning curve by revealing five "huge mistakes" made by self-taught shooters.
The most common practice among many inexperienced Lightroom users is to start with the Basic adjustment and Tone Curve tools. And some photographers only take one approach or the other because of a misconception that they both do the same thing.The most common practice among many inexperienced Lightroom users is to start with the Basic adjustment and Tone Curve tools. And some photographers only take one approach or the other because of a misconception that they both do the same thing.
It's a dead giveaway that you're new to post-processing if the images you edit are oversaturated because you took a heavy-handed approach with one of Lightroom's most overused tools. By doing so you just spoiled an otherwise great shot because it no longer appears realistic.
If you've ever photographed a spectacular rainbow and were disenchanted with the results, well, join the club. This seemingly straightforward task is actually quite challenging because of how White Balance works against you. Fortunately, there's a straightforward workflow that will quickly transform a ho-hum image into something super special.
There are several ways to sharpen photos during post processing, and some common methods are just plain wrong. This video demonstrates a "foolproof" technique for making the sharpest images possible while explaining several essential considerations that Photoshop and Lightroom users of all skill levels should know.