This Pro Composition Trick Will Transform Your Outdoor Photography (VIDEO)

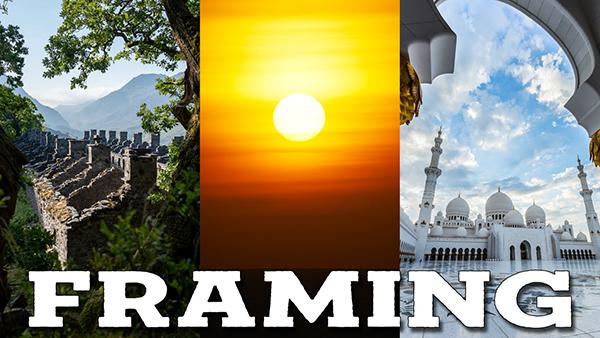
Today's lesson from one of our favorite outdoor photographers demonstrates a fun and easy pro trick for adding depth to your outdoor images, and it takes less than six minutes to explain. The technique involves using natural or man-made objects to frame the key subject in a scene.
Instructor Mike Smith is a British pro specializing in landscape photography, who regularly shares behind-the-scenes tutorials that are intended to inspire other to improve their skills. The straightforward method that he demonstrates below is extremely useful when shooting nature scenes, travel photos, and just about any images you shoot outdoors. And it works with whatever gear you own.
Smith puts it like this: "Framing is a great way to add something to your photographs that others may have missed. It's where you place a main subject within your photograph with other elements partially or totally surrounding it." This approach is particularly effective if you can find a relationship between the framing elements and the subject.

Conversely, you can also create compelling images by "juxtaposing two different things that have no relationship to each other." In either case, the goal is to carefully scrutinize a scene, looking for potential framing objects. These can be anything from an arch, doorway, or old abandoned building, to a void between tree branches.
Smith illustrates how the power of this technique lies in its ability to create depth, "because the thing that you're shooting through adds another layer to your photograph." Hence, you a have a subject behind the frame and the background in the distance—resulting in photos with more depth and dimension.
You'll see how the focal length of your lens, as well as camera-to-subject distance factor into the equation, to heighten or lessen the effect. The aperture you choose is also important because it enables you to control depth of field.

Other less common forms of framing involve using varying degrees of brightness or variations in colors to encircle a subject. A setting sun is also an effective option. Smith explains why he never uses the camera's optical viewfinder when looking at the sun through a long telephone lens. Instead, he'll compose on the rear LCD.
Smith also demonstrates the power of what he calls "partial framing" to get the job done. He offers several other possibilities, like photographing a person walking down the middle of a shallow stream that's bordered by thick foliage on either bank.
The use of these framing techniques simply requires seeing things a bit differently, and when you do good things tend to happen. After watching the video pay a visit to Smith's popular YouTube channel where you'll find an abundance of helpful tips and tricks.
And don't miss the tutorial we posted recently from another accomplished pro, with a beginners guide to shooting eye-popping photos of starlit skies.
- Log in or register to post comments


