HDR Expose 3 Software Review: Is Handheld HDR Ready For Prime Time?
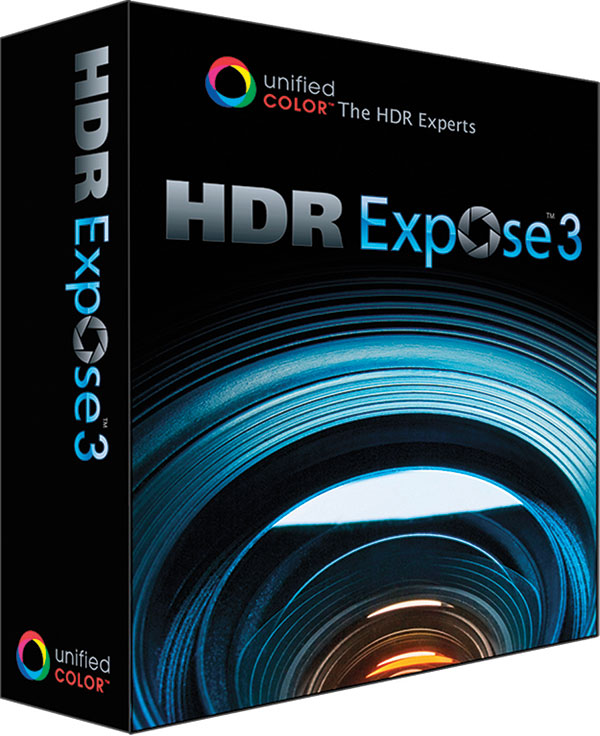
The goal in HDR (High Dynamic Range) imaging is to recapture the full tonal range that you saw in the scene, despite dynamic range limitations of the camera sensor. Previously, HDR technique generally involved use of a tripod: now, while it is still advisable, it may become an option. It also required a static scene totally devoid of movement. Any movement resulted in misalignment and ghosting, or secondary images, caused by a shift in camera position or of moving objects from frame to frame.

With HDR Expose 3, the rules may have begun to change, but one thing that is certain is that the workflow has been greatly simplified. When employing their automated process, the HDR Merge dialog window asks you to choose whether the scene is static or not static. “Not static” means the scene involves a handheld camera or subject movement, or both. You then select a “key” frame. The key frame becomes the center of your HDR universe.
The essential reason for selecting the key frame is to prevent or greatly eliminate ghosting. HDR Expose 3 will select this frame for you, but you can override that choice. I may choose an underexposed image as the key frame, because this often tackles movement and deters ghosting more successfully.
The premise is that when I might be shooting for HDR I can leave the tripod at home. And even if I did engage a tripod, I could largely disregard subject movement. Beyond that, I could also return to old bracketed files that were shot hand held, and merge these to HDR, which is something I’ve been doing of late. How well does this premise hold up?


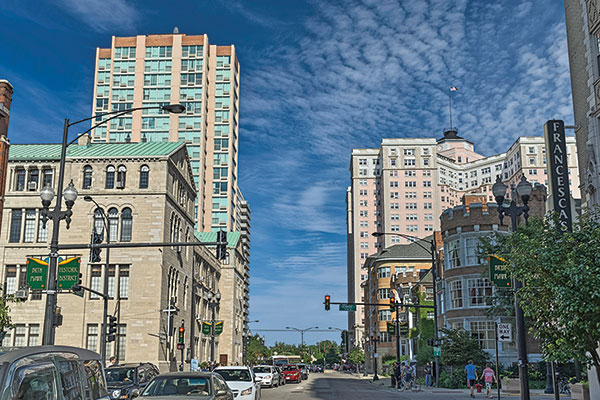
All Photos © Jack Neubart
Conclusions And Considerations
I spent considerable time exploring HDR Expose 3’s new Adaptive Tone Mapping, “de-ghosting,” and alignment algorithms. The app delivered, although not always with resounding results. The HDR process did introduce or intensify digital noise on occasion, most noticeably in areas of deep shadow and when you select an underexposed image as the key frame. However, Unified Color points out that less noise will be produced by selecting the “Merge Static Photos” option, which would only apply to a tripod-mounted camera combined with a lack of subject movement. Granted, HDR Expose 3 also provides noise removal tools. However, they work best at modest settings, when used in conjunction with those available in Lightroom.
The process did not leave me entirely satisfied. The images often turned out flat and lifeless, or taken to another extreme, grungy. Yes, I was impressed by the program’s ability to produce HDR merges in spite of camera or subject movement and especially when the camera was hand held. I fully appreciated HDR Expose 3’s White Balance tool, which I found more satisfying than the one in Lightroom. The Dodge/Burn tool also is commendable for limiting the extent that it can be applied, no matter how often you paint over the same area, ensuring that you do not get overly grayed out highlights or mistakenly get too open, noisy shadows. And once I created my own custom Presets, the HDR merge process became practically effortless for similar situations.



For this handheld night scene of a carnival I first took spot readings with a Sekonic meter of important highlight (A) and shadow (B) values, then merged the two exposures in HDR Expose 3. Exposures were f/2.8 at 1/40 sec for the shadow reading and the same aperture at 1/125 sec for the highlights at ISO 1000. Frankly, arriving at a workable image range was tricky because I didn’t want the overhead fluorescents to blast out or go dead and wanted color and sparkle in the surrounding incandescent bulbs. While the merged file (C) shows negligible clipping and brings the values nicely together, there’s an unmistakable HDR look about it.
However, looking back over the resulting images, I’m left wanting more. What I’d like to see in the end are handheld HDR merges that capture the full vitality of the scene as I envisioned it at the moment of capture. This program may well be a good step in that direction, and if you can accept some HDR bias in the final result and are willing to tweak results in Lightroom or Photoshop, you might be quite satisfied that handheld HDR is becoming a reality.
How To Optimize Handheld HDR With HDR Expose 3
1. Shoot steady. Employ proper camera handling procedures—stand firm, left hand supporting lens, gentle shutter release,
relax—and use image stabilization features if available.
2. Use Raw files. Exporting files that you first converted to JPEG or TIFF in Lightroom may result in tonal distortions.
3. Capture the full tonal depth. You can successfully create an HDR merge with as few as two or three bracketed exposures. I’ve also used spot metering to shoot highlight- and shadow-biased exposures for merges.
4. Shoot tightly spaced frames. Minimize misalignment and ghosting by shooting fewer bracketed frames at the fastest available shutter speeds, and set drive speeds at the maximum when auto-bracketing.
5. Bracket shutter speeds. Lock in f/stop, ISO, focal length, and focus.
6. Shoot at low ISO settings. The HDR process for non-static merges may introduce or increase digital noise.
7. Overcome ghosting. If ghosting results when the metered or default exposure is selected as the key frame, select an underexposed image as the key frame. If all else fails, you may have to align the frames manually (HDR Expose 3 offers this option, but it can prove frustrating).
8. Finishing touches. Use Lightroom (or Photoshop) to apply finishing touches, including additional noise removal, sharpening, and targeted adjustments.
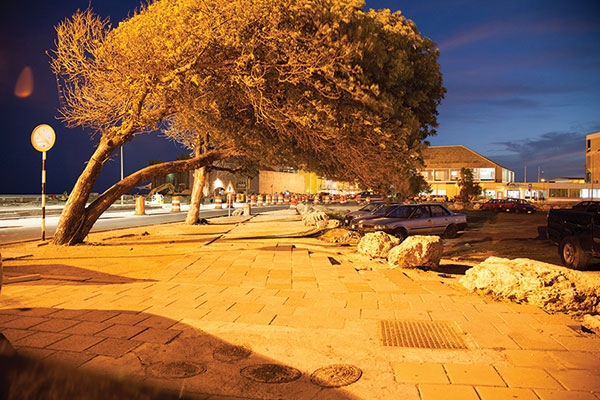

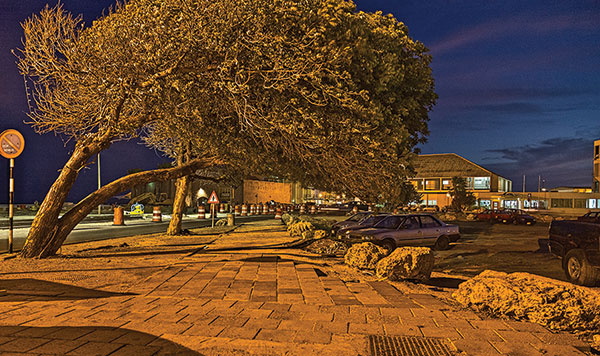
The problems in this scene are evident: the tree was fully illuminated and “hot” on one side (A), dark on the other (B). Then there were all the windows in the background that I had to deal with, so they wouldn’t burn out. My solution was to bracket two exposures at +/- 0.67 EV with my handheld Canon EOS 5D. While the final (C) looks good one more step was needed: I toned down the overly bright foreground, the street to the left, and the road sign by using the plug-in’s Burn tool. I further addressed digital noise with DxO Optics Pro 9.
System Requirements
OS: Mac OS 10.6 and above,32- or 64-bit Windows (Vista, Windows 7, Windows 8); CPU: Dual-core, 2.0GHz minimum; quad-core, 2.8GHz recommended; RAM: 2GB minimum, 4GB recommended; Video RAM: 128MB minimum recommended.
Note: For this test I used HDR Expose 3 as a plug-in with Lightroom 5. It’s also available as a plug-in for Aperture and as a stand-alone.
HDR Expose 3 costs $119.
For more information, visit Unified Color Technologies at www.unifiedcolor.com.
- Log in or register to post comments
