Just the shutter opening and closing causes microscopic body movement and affects the sharpness of the image. Under the previous versions of Photoshop, Adobe had a Blur Reduction Filter which backed-up the blur direction resulting from this movement which actually made the image sharper. It did not sharpen the image the way most sharpening filters sharpened images. It was a miracle filter. Unfortunately, it was just removed from the latest version of PS because it was not compatible with Adobe's M1 platform. You have to load a recent version of PS under Adobe Cloud to get the filter and then never update your version of PS.
Want Maximum SHARPNESS in Every Photo You Shoot? Here’s How (VIDEO)

Not long ago we featured a very popular tutorial, explaining the importance of choosing the proper focal point if precise focus is your goal. Today‘s follow-up episode, with another instructor, provides more important tips you won’t want to miss.
As you’ll see, selecting the correct focal point for the scene at hand is only a small part of the equation. The explainer below comes from our friends at the Rocky Mountain School of Photography (RSMP)—a Montana-based institution that’s provided hands-on photo education for all levels of photographers since 1989.

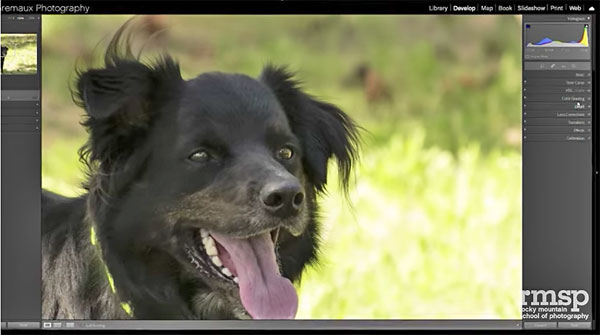
Forest Chaupul de Saintonge is both Director of RSMP and a very popular instructor. In this helpful guide he explains several common reasons for soft photos, a variety of camera settings to increase your odds of “keepers,” and several editing techniques you can use to give soft images the “appearance” of greater sharpness.
Photographers typically think of lens aperture as a creative control for achieving the specific depth of field desired. But the f/stop you choose can also affect the overall sharpness of a subject. As Forest explains, “using a middle aperture like f/5.6 or f/8 will get your subject sharper than it would be at either end of the aperture range.
High ISO settings can be another cause of soft-looking photos, due to the “noise” or “grain” they add to an image. Or as Forests says, “This starts to create a blurriness/speckled effect that minimizes details in your photographs.”

If these and the other tips Forrest provides don’t result in sharper photos your lens may be the culprit, and perhaps it’s time to invest in better glass. Be sure to watch until the end, where you’ll learn a few basic editing tricks for rehabilitating soft images.
You can find a wide range of instructional videos on the RMSP YouTube channel, so be sure to take a look.
And check out the earlier tutorial we posted, explaining the importance of choosing the proper focal point if you want razor sharp images.
- Log in or register to post comments


