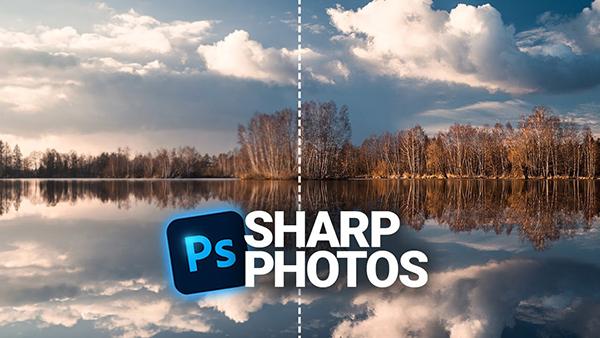
The Secret to Making Your Photos SHARP in Photoshop (VIDEO)

Let's face it: not every photo you shoot is going to be sharp. That fact can be pretty disappointing if you like the subject, composition and exposure of a particular image but find out later it's a bit soft.
Have no fear, fellow photographers! There are many easy ways to sharpen your images after a shoot during post-processing using the wonders of Photoshop. In the below tutorial, Christian Mohrle from The Phlog Photography explains a simple method to get sharp photos with Photoshop.
"In this video, I want to show you the process of getting a crisp, clean and very sharp looking image," Mohrle says. "So, without much more talking, let's begin."
You can follow along with his instructions and try the technique out yourself but downloading his free sample Raw file here. Mohrle's tips for sharpening photos can be applied in either Photoshop or Adobe Camera Raw as he explains in the video.
"Right away I will say the conditions were pretty good," Mohrle says about the sample image he shot of a lake with trees and a cloud-filled sky in the background. "I do have some nice contrast as well as a pretty clear reflection in the foreground so, obviously, those conditions will help a lot creating a sharp image."
Here are the five easy steps he explains in the below tutorial with time-stamps showing where you can find them in the 10-minute video.
#1 Basic Adjustments (0:26)
#2 Local Adjustments (2:50)
#3 Color Grading (4:20)
#4 Sharpening some more (6:15)
#5 Photoshop (7:25)
Check it out below and if you're looking for ways to get sharper images in-camera so you don't have to spend time working on them in post, read this story on how to shoot razor sharp images with any camera.
- Log in or register to post comments


