The Secret to Exposure Blending of Bracketed Photos with a FREE Plugin (VIDEO)
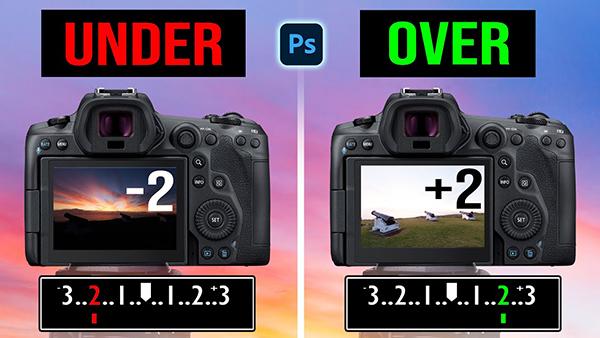
Do you struggle to perfectly blend your bracketed exposures in Photoshop or Lightroom? If so, this quick tutorial from Steve Arnold will help you get the job done to perfection.
Arnold is a professional landscape photographer whose post-processing tutorials are designed to help you level up your Photoshop and Lightroom skills. He introduces today's six-minute episode by explaining that there are variety of exposure blending techniques available, depending upon the specific challenge at hand.
Thus, "It's not just about knowing how, but understanding when and why to use each one for the best results." He then demonstrates three "essential" techniques, with step-by-step instructions for each, that will deliver stunning results in just about any situation you confront.
There's also a link in the description beneath the video for downloading his free Photoshop plugin that eliminates all the complicated steps. If you're wondering why you'll learn three different blending methods instead of just one, Arnold puts it like this: "The best way depends upon the type of scene that you've captured."
In other words, you have to match the technique to the situation. And taking the wrong approach can actually make an image look worse and waste a lot of time. Tip #1 is the fastest and easiest and it's available in both Lightroom and Photoshop.
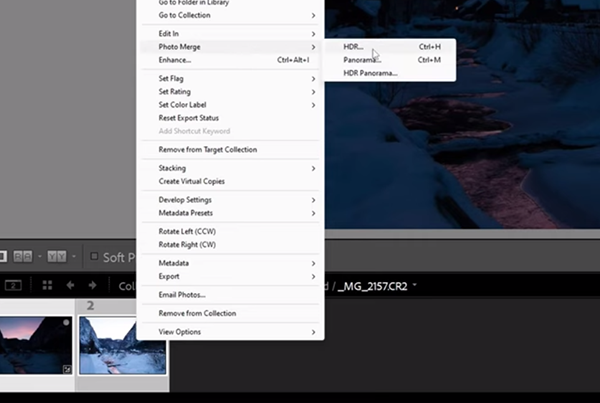
All that's necessary is to select the photos you want to blend in the film strip at the bottom of the Develop window. Then simply right-click and choose the Photo Merge and HDR options from the two dropdown menus that appear. It's also important to select Auto Align for reasons Arnold explains. Finally, click Merge.
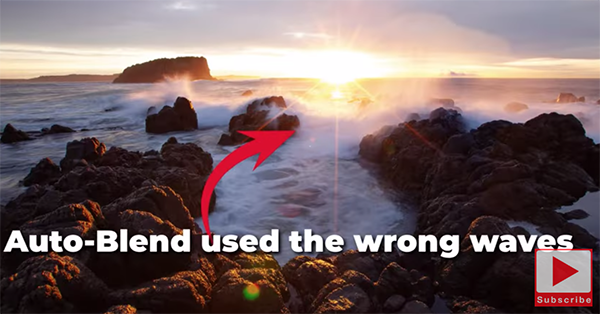
At this point Lightroom or Photoshop will handle all the heavy lifting and deliver a new image that contains the full dynamic range of your bracketed shots—with more details in highlights, shadows, and everything in between.
Unfortunately, as you'll see, there a few drawbacks to this automated method, which is why it's often best to use one of the other two techniques that Arnold recommends. We'll let him explain their advantages, the greater control they provide, and how they remove any guesswork regarding the results you'll achieve.
There's much more to learn about shooting and editing landscape images on Arnold's instructional YouTube channel, so be sure to pay a visit when you have time to explore.
On a related note, don't miss the tutorial we posted in the past with another pro's take on how Photoshop's Blend modes work, the concept behind them, and the way he uses these tools to achieve stunning visual effects.
- Log in or register to post comments

