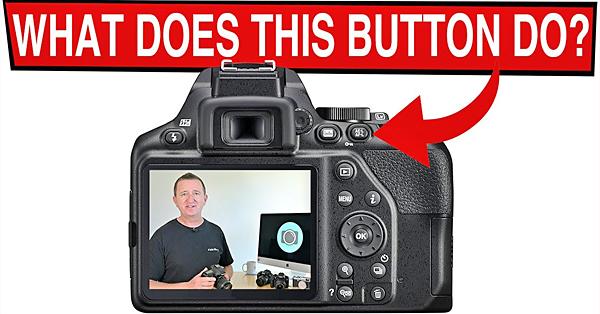
How to Use Your Camera’s AE-L/AF-L Button to Take Better Photos (VIDEO)

OK, be honest here: Your camera has an AE-L/AF-L button, right? Do you understand how it works? Are you using it regularly? If you’re like many photographers, your answer to the first question is, “sure,” to the second question, “I think so,” and to the third question, “not really.”
And that’s too bad because this oft-ignored button can make photography more convenient and help you achieve better results. After watching the four-minute video below, you’ll be able to answer the above questions with an unqualified “yes.”

Instructor Paul Farris of the popular Photo Genius YouTube channel has been reviewing gear, sharing online tutorials, and teaching photo workshops for over a decade. In this quick episode he explains why and how you should use the versatile button that you’ve ignored for so long.
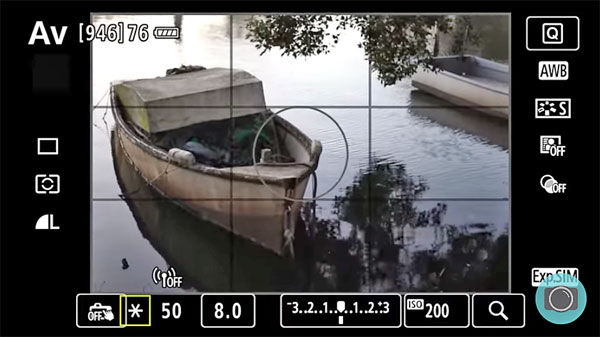
Depending on the specific camera you own, this button may be labeled “AE-L,” or “AE-L/AF-L.” And on some camera’s it’s simply identified with a star icon. As you may suspect, AE-L means “auto exposure lock,” while AF-L stands for “autofocus lock.”
Regardless of nomenclature, this single button will accomplish one or both tasks, depending upon how it’s configured in your camera’s Settings menu. It’s also a handy tool for what’s known as “back button focus”—a useful way to prevent the camera’s AF system from continuously engaging when the shutter is released.

Farris begins by explaining what exposure modes to avoid when using the AE-L/AF-L button, and then walks you through the straightforward process for taking advantage of everything it can do.
You can find much more of interest on Farris’ YouTube channel, so be sure to take a look.
And for another quick gear tutorial, check out our recent post with simple tips for getting the best quality out of your home photo printer.
- Log in or register to post comments


