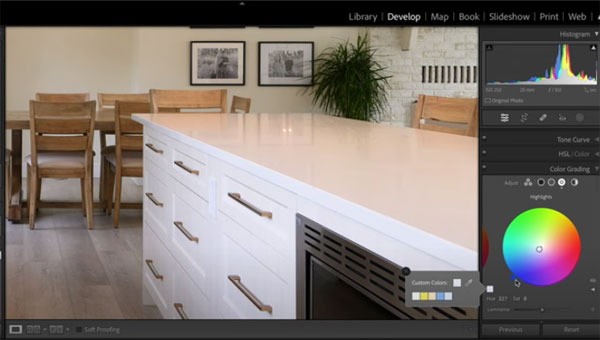
Harness the Power of Lightroom’s Tone & Exposure Controls (VIDEO)

Lightroom’s tone and exposure controls have the power to dramatically transform a photograph, and they’re easy to use if you know how they work. And that’s exactly what you’ll learn in the quick tutorial below.
This video from the Photo Fitness Academy runs barely 12 minutes, but it’s very comprehensive. It explains how to use all the basic tools necessary for turning bland images into bright and compelling photos that really grab attention.
Instructor David Buck is an accomplished photographer and image-editing expert. In this episode he explains, “how to adjust lights, darks, texture, clarity, whites, and blacks,” with Lightroom’s most appropriate tools. In other words, you’ll see how to employ Lightroom’s exposure and tone controls to fix any problems having to do with the brightness values of an image.

Buck demonstrates the simple way to make global adjustments that really pump up an image. He also explains several simple tricks for fine-tuning your results using Lightroom’s Tone Curve tool and Highlight/Shadow controls.
You’ll also learn everything you need to know about Lightroom’s oft-ignored Histogram, including how it works and the best ways to use it depending upon the photograph at hand. There’s also a helpful discussion about improving an image with adjustments to Luminance values.
Bottom line, after watching this really helpful lesson, your editing skills will increase by a significant margin. In fact, Buck says that by following his straightforward advice, “you will achieve professional level edits” from now on.

We recommend taking a few notes for future reference, because Buck covers a lot of territory so quickly. The good news is that you’ll become adept at editing skills that are appropriate for processing a wide variety of images.
If you’d like more of Buck’s easy-to-understand tips and tricks, head over to the Photo Fitness Academy YouTube channel.
We think you’ll also appreciate the other helpful Lightroom tutorial we posted earlier, explaining how to add impact and “atmosphere” to landscape photos with a simple effect.
- Log in or register to post comments


