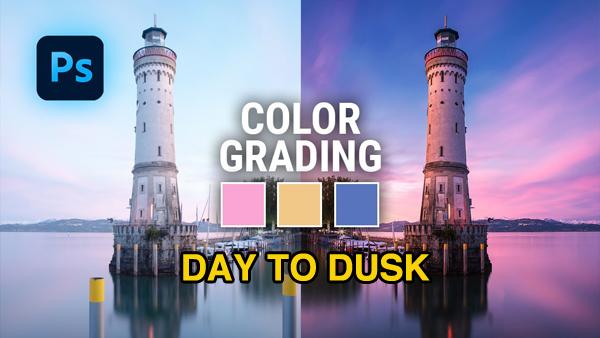
Give Daytime Photos the Soft Rosy Feeling of Dusk with This Photoshop Trick (VIDEO)

One of the basic tenets of landscape photography is to “be at the right place at the right time,” which is why many of us prefer to shoot at blue hour—just before sunrise or after sunset. But what if you stumble upon a beautiful scene earlier in the day when the light isn’t quite right?
With this quick-and-easy technique you’ll learn how to transform an uninspiring midday shot into something far more compelling, with the soft blue and pink hues of dusk. In barely 10 minutes, German photographer Christian Mohrle explains how to use Photoshop’s Raw editor to introduce those lovely dusk tones with a few quick adjustments.

In addition to making his seaside image more vibrant, Mohrle demonstrates a few tricks for cleaning up the shot. He begins by changing the camera profile to Adobe Standard to lessen contrast and give him more control.
The next step involves basic global adjustments to achieve a better base image for what follows. He modifies white balance for a cooler effect, adds more pink and magenta tones, and reduces highlights in the sky. He also slightly opens up the shadows and adds a bit of sharpness.
Now it’s time for selective local adjustments, which include applying a liner gradient to further darken the sky while maintaining brightness in the lower portion of the image. At this point the photo has made a remarkable transformation, with a clean, natural looking effect.

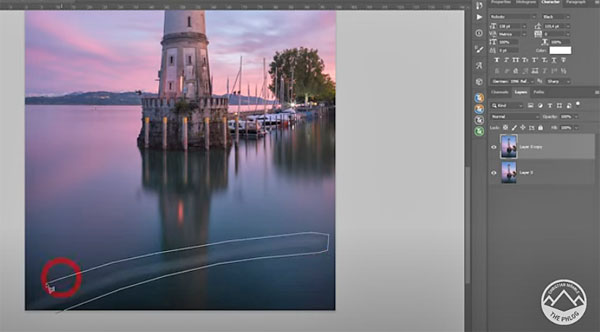
All that’s left is some simple color grading to further refine the photo, and a quick cleanup in Photoshop to remove a few distracting elements. By following Mohrle’s advice, you’ll be able to create beautiful landscape images captured any time of day.
You can find more tips and tricks on Mohrle’s YouTube channel, so be sure and pay a visit.
And check the tutorial we posted from another editing expert, explaining how to use Lightroom’s powerful Healing Brush tool in just two minutes.
- Log in or register to post comments


