- REVIEWS
Camera Reviews 
More Reviews Mobile Reviews Photography Reviews - GALLERIES
- VIDEOS
- BUYER'S GUIDES
An "Amazing" Lightroom Technique That Most Pros Can't Live Without (VIDEO)
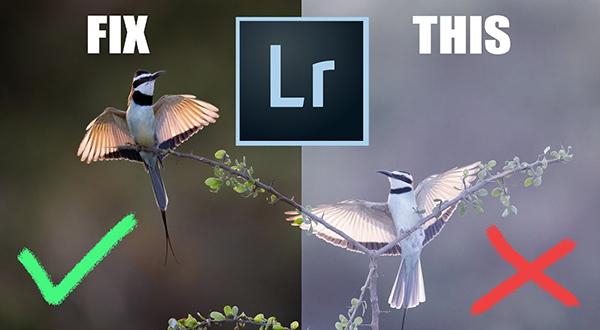
There's a common denominator running through many of the post-processing tutorials we post, and it's a technique that one of our favorite instructors says he can't live without. Many of his fellow pros agree wholeheartedly, and today you'll learn exactly how it works.
Instructor Simon d'Entremont is an acclaimed wildlife and nature photographer based in beautiful Nova Scotia, Canada, and the topic of this episode is taking advantage of "local adjustments" to bring out the best in every image you edit. In fact, Simon insists that this is "the most important Lightroom technique there is."
Simon's goal is encouraging you to employ a more ambitious approach than simply making global adjustments to the image as a whole. Instead, he recommends a selective technique to enhance different areas within the frame with different color, contrast, and exposure enhancements for each on an as-needed basis.
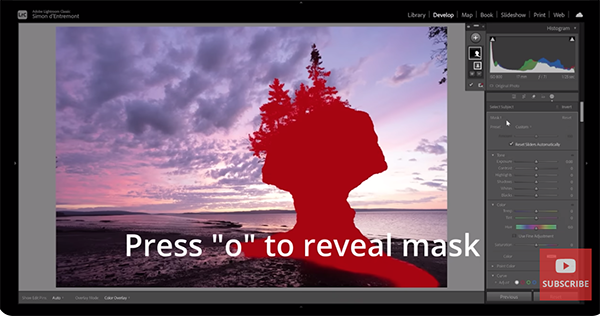
The five-step process involves straightforward masking that's easy to follow and delivers amazing results as you'll see in Simon's impressive sample images. He begins with an overview of the specific tools required, one of which is Lightroom's Select Subject tool. Once you determine the element you want, pressing the letter "o" on the keyboard reveals your mask in red. Now you can change the exposure level or other criteria for that particular subject.
Another option is the Select Object tool that lets you create the selection with a brush by painting over the particular area you want to adjust. Masks are also effective when you want to select the background or the sky—while leaving the rest of the image untouched.
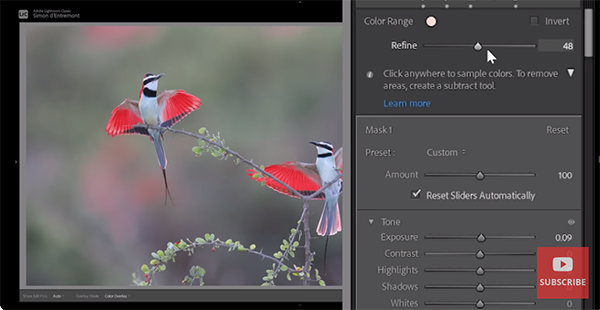
Simon demonstrates a variety of other local adjustment techniques, like using a Color Range mask, along with Lightroom's dropper tool, to select and enhance specific tones. Here you can also employ a simple slider to refine the adjustment until is appears exactly as you desire. This makes it easy to perfect color temperature and another key attributes quickly and precisely.
The foregoing is just a taste of what you'll learn in this very important lesson. And once you get the hang of it you'll wish that you had used these selective enhancements for every image you processed in the past. In fact, you can still do that by taking a second crack at whatever images you want improve.
There's much more to learn on Simon's robust YouTube channel, so be sure to take a look at what's available.
And don't miss the earlier tutorial we featured with another accomplished pro who demonstrates three simple editing hacks for creating outdoor photograph with the WOW factor.
- Log in or register to post comments


![]()
Get the Latest Photo Tips, News & Reviews from Shutterbug!
| Camera Reviews Other Reviews | Mobile Reviews Photography Reviews Columns | News | Features | How-To | Resources |
 © 2025 Shutterbug
AVTech Media Americas Inc., USA
All rights reserved