Color Calibration Tool: How to Use it in Lightroom & ACR (VIDEO)

OK, be honest: How often have you skipped past the Color Calibration tool when processing images in Lightroom or Adobe Camera Raw (ACR)? If you’re like most photographers, the answer is something along the lines of “quite often.”
It’s really too bad if this sounds like you, because this oft-ignore panel can make a huge difference in the quality of your edits, regardless of the types of photos you shoot most. Or as one of our favorite instructors says, “There’s a ton of helpful data in that section that can provide incredible colors in any photo of any genre.”
Photographer Blake Rudis frequently shares tutorials on straightforward image-editing techniques, and the episode below is one you’ll want to bookmark for future reference. In barely 13 minutes he explains how the Color Calibration tool works, and provides practical examples illustrating the huge improvements it can make to your photos.
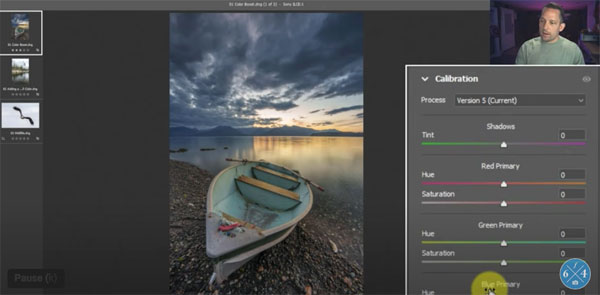
This lesson isn’t about creating outlandish effects, but rather practical methods for refining colors to get just the natural look that you’re after. These methods work equally well for everything from portraits and landscape shots to nature and wildlife imagery.
Rudis insists that, “Color Calibration is one of the most versatile tools in your post-production toolkit,” so pay close attention. He begins with a simple way to give a realistic “color boost” to photos that are a bit drab, and he provides the specific parameters he chose to rehabilitate the sample image.
His second tip involves a similar technique he calls “more color from little color.” Here he demonstrates how to improve a landscape scene captured in Yosemite. The problem with this image is that is was made on an overcast foggy day, with insufficient light to properly render the vibrant greens tones of the trees.
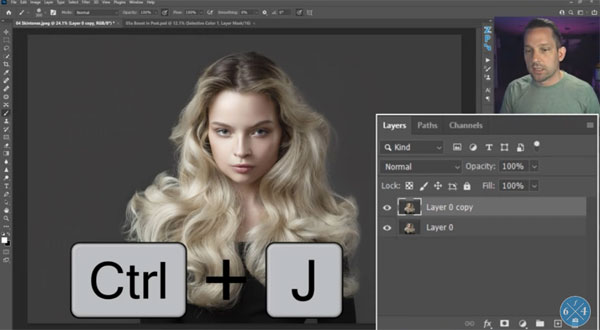
You’ll also learn how to achieve much better color in wildlife photos, significantly improve skin tones in portraits, and refine all colors in an image at the end of your workflow. You may never ignore the powerful Color Calibration tool again, especially after viewing the before/after examples that Rudis provides,
Rudis’ popular YouTube channel includes a wealth of image-editing advice, so be sure to take a look.
And check out another of his tutorials we posted, explaining how to use Selective Color to fix hot spots and highlight blowouts in Photoshop.
- Log in or register to post comments


