Photoshop Basics: Be a Master of Noise Reduction in Just 7 Minutes (VIDEO)

This tutorial is a perfect follow-up to a lesson we posted this morning, explaining how to capture stunning photos of the nighttime sky. Whether you're photographing nightscapes or other low-light scenes, high ISO settings and the possibility of noisy images is something you have to confront.
This video is the final installment in a series from photographer James Vooght, describing the various aspects of shooting landscape images at high ISOs. His goal is to help you work with these situations rather than against them, and Vooght covers all the basics in barely seven minutes.
Vooght provides several helpful tools and tips, discusses the concept of noise, and reveals what form of these ugly artifacts you're likely to encounter in various situations. He says that the processing methods you'll learn today, "are the techniques I use to mitigate noise within my photos." You can take advantage of this workflow in conjunction with other tutorials in this series that you'll find on Vooght's YouTube channel.

There are two types of noise central to this lesson: luminance noise and color noise. A basic understanding of the difference makes it easy to employ the editing tips that that follow. According to Vooght, "both types have their own unique properties that are dealt with in much different ways."
Before beginning an edit it's essential to carefully evaluate the noise level within the photo at hand. Vooght explains the procedure for doing this, which begins by zooming in on the photo. And here's an important warning: stop enlarging the shot as soon as noise becomes clearly visible. That's because, "if you zoom in too far, and try to correct noise at a much higher level, you may encounter so much pixilation that it simply can't be corrected."
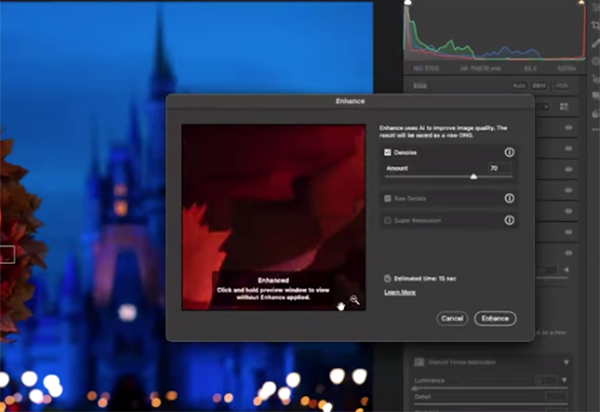
Photoshop provides number of Camera Raw options for eliminating, or at least reducing, noise in your images and Vooght explains what they are and how to use them. One only requires a single click of the of the AI Noise Reduction feature that's located within the Details panel, but there are other ways to get the job done without trusting artificial intelligence to do a perfect job.

The last tool discussed is the Reduce Noise filter that's aptly found within the Filter section. Here you'll be presented with four simple sliders for cleaning up the shot. As you'll see, there's also an advanced option where you can make adjustments to noise based upon an RGB channel breakdown of the image.
There's much more to learn on Vooght's instructional YouTube channel where you can also watch earlier episodes in this series.
And don’t forget to check out the tutorial we mentioned above, with a beginners guide to nightscape photography.
- Log in or register to post comments


