Olympus’ Zuiko Digital 35mm f/3.5 Macro And Macro Flash; Versatility For Close-Up Shots
When I first heard about a 35mm focal length macro lens my mouth began to water. The $229 price tag was an immediate inducement, as were the compactness and lightweight of this glass. What threw me, though, was the focal length. Because this was in the new Four Thirds System for an Olympus digital SLR (the EVOLT E-300 was used for this test), focal length doubled to 70mm. A 70mm f/3.5 macro lens is a tad slow, compared with that trusty old 90mm f/2 I had used on my Olympus OM-1 film SLR. Yes, you could opt for the current Zuiko 50mm f/2 macro, but that lens only focuses to half life size--and costs twice as much. The new lens focuses all the way to life size without extension tubes--a decided advantage in macro work.
 |
|
|
From the outset, I anticipated I'd need flash to augment the lens' capabilities. Macro lenses are never speed demons to begin with, but usually they top out at f/2.8. Here we have a maximum aperture of f/3.5. And close-ups deliver even less light for focusing. With the Olympus E-300, the only way to bring a focusing lamp into the picture is to use the built-in flash, or an accessory flash. Due to parallax error (from a lighting standpoint), the built-in flash and any shoe-mounted flash is not practical for macro. The Olympus ring flash and twin flash heads are the best route, with each providing a set of continuous lamps that aid immeasurably when focusing in low light, making either an ideal companion for this lens.
 |
|
 |
|
|
The Tabletop Macro Experience
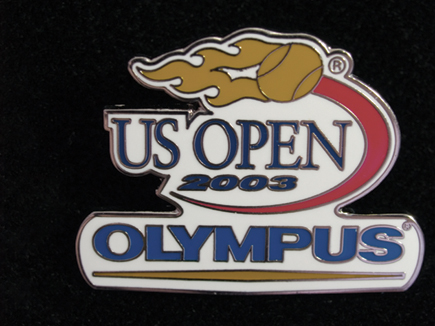
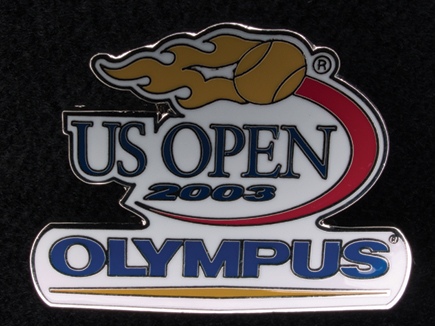
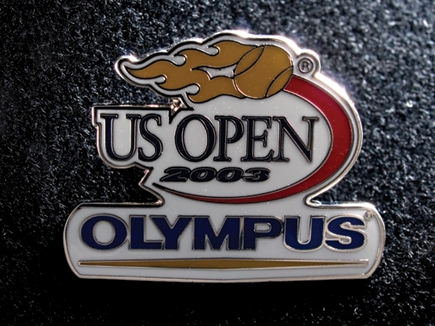
There are many macro subjects to explore with such a lens. In fact, to better acquaint myself with this optic, I began with two small tabletop subjects: a commemorative postage stamp (at half life size and life size) and a commemorative pin (at half life size), each presenting its own set of challenges. I began with the stamp.
Working indoors does not provide a lot of light for close-ups, so I brought out my OTT-LITE desk lamp. Even though this lamp is touted as a daylight fluorescent, I found it necessary to use a custom white balance setting. The camera was mounted to a Benbo tripod--specifically the cantilevered centerpost for maneuverability. Even though the effective focal length is 70mm, shooting life size doesn't afford much breathing room. Lacking a remote, I used the self-timer at 12 seconds. The results? I couldn't be more pleased. I could easily read detail corner to corner and edge to edge, without any discernible loss in quality across the entire surface.
 |
|
 |
|
 |
|
|
I had to limit reproduction on the pin to half life size when adding flash. The adapter ring required for macro flash extends outward considerably beyond where the lens barrel itself extends. When you add the ring flash, or especially the twin flash heads to the front at magnifications greater than half life size, space is so tight that it becomes practically unworkable in a tabletop situation. Even at half life size, the flash head gets squished into the black velvet backdrop, which was bunched up beneath the pin. Photographing flowers would prove less of a problem.
Close-Ups Of Flowers
When shooting flowers and plants I knew I'd be switching back and forth between available light and flash, and between ring flash and twin flash, so I kept the flash adapter ring on the lens. This had the unhappy effect of hiding the reproduction ratios inscribed on the lens barrel. And when focusing manually with this lens, there is no noticeable resistance as you rotate the focusing ring to life size. So, not only are you missing a visual indication of the magnification data, but you also don't have any tactile feedback from the lens, which proved frustrating.
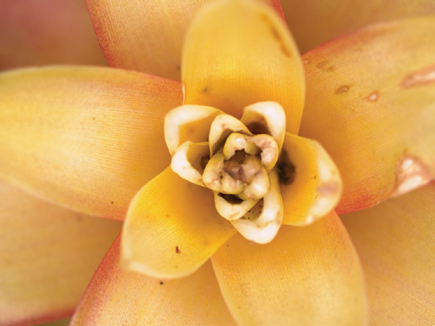
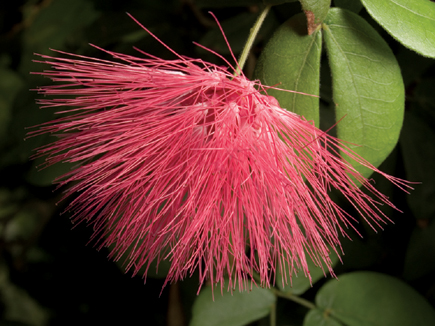
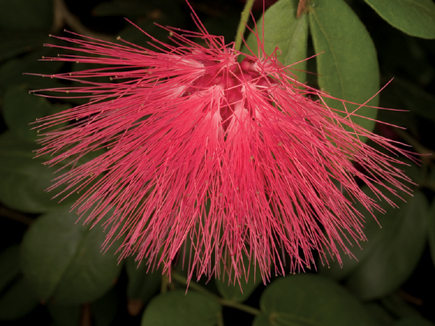
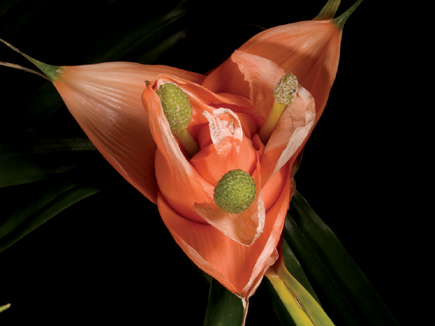
Besides its obvious advantages, flash allowed me to block out extraneous light and focus primarily on the flower. Otherwise, with a lot of ambient light pouring in around the subject, chances are you'll also capture extraneous details. The fun began in comparing results between the ring flash and twin flash. While it varied with the flower, the twin flash did more to sculpt the subject, in part because you can adjust the lighting ratio between the two heads. What's more, each head can be independently positioned around the lens axis at varying angles. The downside is that you have to be watchful which end is up or you may find shadows running the wrong way. Bromeliads and other waxy-leaved plants do best with the twin flash, because the heads can be positioned so as not to produce glaring hot spots.
The circular tube configuration of a ring flash makes it faster to change orientation from horizontal to vertical, letting you respond to the situation with immediacy. Subjects such as mosses, tiny flowers, and especially lichens would be best served by the Olympus ring flash, but I've successfully photographed larger flowers and plants with it. (Select ring flash systems from other manufacturers split the tube, allowing you to ratio the light for better modeling. I wish Olympus had taken this route as well.)
I also took the 35mm macro out to photograph shop displays and small critters at the zoo. One thing I immediately learned when pressing the lens against the glass was not to press the lens against the glass. Because the lens barrel protrudes in a pronounced fashion as magnification increases, the lens needs its space. It's not unusual--many lenses share this feature. I would have preferred internal focusing as a quick and easy remedy. Funny thing: that annoying flash adapter ring solved the problem, since it allowed me to hold the lens flush up against the glass without worrying about lens barrel movements.
 |
|
|
|
 |
|
|
|
 |
|
|
|
 |
|
|
|
 |
|
|
|
 |
|
|
|
|
- Log in or register to post comments

