Make Better Blue-Hour Landscape Photos with This Simple Lightroom Edit (VIDEO)
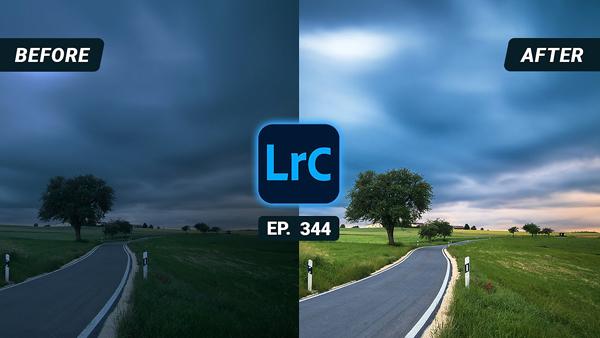
Blue hour, that magical time just before sunrise or sunset, is usually a great time to shoot. With the sun just below the horizon, beautiful blue tones bathe the landscape and create a dreamy soft glow.
Under certain conditions, however, like when dark clouds hover over the scene, images can appear disappointingly dull and lifeless. That’s when you need to give Mother Nature a helping hand with a few quick adjustments in Lightroom.
In this six-minute tutorial, German Photographer Christian Mohrle demonstrates how to bring a drab landscape photo back to life, by opening up his dark image, adding a bit of color, and balancing exposure throughout the scene.
If you’ve watched Mohrle work his magic in the past, you know he adheres to a specific progression when enhancing images. He always starts with a few basic global adjustments, moves on to local enhancements of different portions of a scene, and finishes with a bit of color grading.
For the video below, Mohrle shot an uninspiring long-exposure photo at blue hour that many of us would relegate to the trash bin. But that would be a mistake, as he quickly turns the drab image into something quite special. He was hoping for some subtle reds on the horizon, but the dark thick clouds prevented that from happening, so he created the look he was after with a few quick clicks in Lightroom.
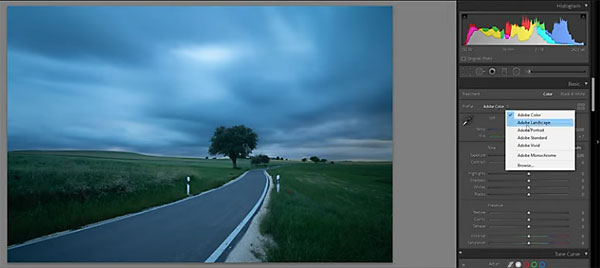
The goal is give some vibrance to the scene while retaining a natural look. He begins by changing the file profile to Adobe Landscape, and jumps right in with quick and easy color adjustments to the overall image. The first step is to push the white balance to the warm side. Then he adjusts the tint to remove a slight green cast, brings down the highlights for more detail in the clouds, opens up the whites, and slightly drops the blacks.
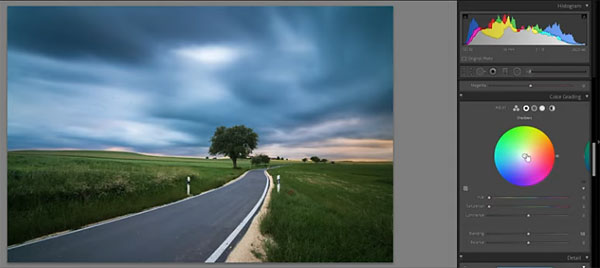
After adding a bit of Vibrance, and reducing Clarity, he turns to a few local adjustments that are just as quick and easy to accomplish. The final step involves a bit of subtle color grading, for a resulting image that looks like what he had envisioned.
There are more helpful editing tips on Mohrle’s YouTube channel, and in another tutorial we posted recently, explaining the best way to remove noise and save “unsalvageable” photos.
- Log in or register to post comments


