How to SIMPLIFY Photoshop for FAST & Efficient Editing (VIDEO)

Anyone who has used Photoshop knows that it’s an extremely comprehensive tool, and because of that it enables you to accomplish just about any task you desire.
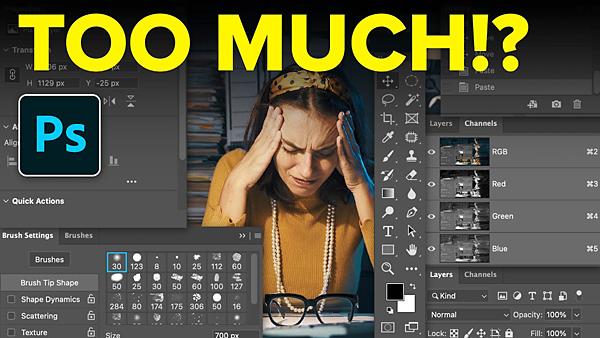
There’s also a downside to the vast power of Photoshop: It can be bewildering to beginning users, and it’s often overly complex for more experienced photographers too. The eye-opening tutorial below explains how to simplify your Photoshop workspace for faster, more efficient editing.

One reason for the complexity of Photoshop is that it’s not only designed for photographers, but for graphic designers, artists, web designers, and other content creators. Hence, the default interface includes a wide array of tools that many photographers never use.
In this episode from image-editing expert Matt Kloskowski, you’ll learn how to eliminate unnecessary clutter from the Photoshop workspace, so the tools you use most are right at your fingertips, while others are hidden. As you’ll see, Photoshop also includes “legacy tools” that are no longer relevant today.
In just 13 minutes Kloskowski walks you through the Photoshop toolbar and all of the important panels, demonstrating how to get rid of everything you don’t need, while streamlining the interface to suit your specific style of processing photos. As a result, you’ll work more efficiently and your learning curve will be dramatically shortened.

Kloskowski begins with a detailed review of the Toolbar on the left side of the screen, before moving on to the Window menu at the top that controls all the panels you can have visible while you work. He covers a lot of ground, so grab paper and pen and jot down a few notes.
If you think of Kloskowski’s advice as essential spring-cleaning, image editing won’t seem as much of a chore.
You can find more helpful tips on Kloskowski’s YouTube channel and in another tutorial we posted recently, with a four-minute tip for fixing underexposed photos with whatever software you use.
- Log in or register to post comments


