- REVIEWS
Camera Reviews 
More Reviews Mobile Reviews Photography Reviews - GALLERIES
- VIDEOS
- BUYER'S GUIDES
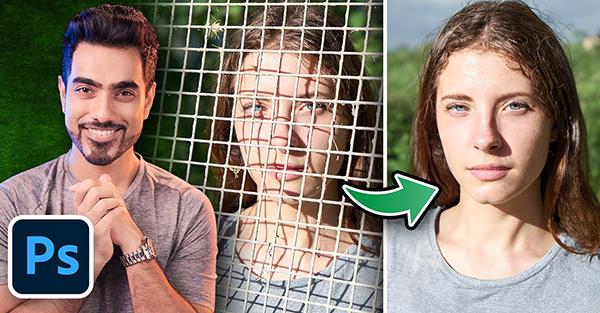
How to Remove IMPOSSIBLE Stuff in Photoshop When Gen Fill Doesn't Work (VIDEO)
If you've ever tried removing extremely complex objects from an image, you probably tried doing so using Generative Fill. It's likely that the results you received weren't up to par because Gen Fill often delivers poor results no matter how many times you try. In fact, in some circumstances like this one it may even replace objects rather than eliminate them.
This tutorial comes to us from the PiXimperfect YouTube channel, a robust instructional resource with more than five million subscribers. In this episode you'll learn a foolproof technique to vaporize complicated, unwanted objects that ruin a shot.
Unmesh Dinda is globally popular educator, post-processing expert and workshop instructor who travels the world sharing his wisdom with others. He begins this 12-minute primer on object removal by explaining why Generative Fill isn't the solution for detailed elements like the fence in his demonstration portrait.
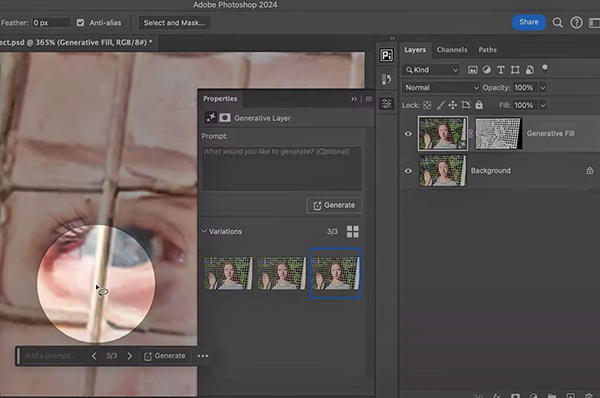
As Dinda explains, Gen Fill not only fails at this particular task, but when it works there are several drawbacks to consider. One of these involves resolution limitations, and Dinda puts it like this: "As soon as you zoom in, all those filled areas are super, super, duper low-res."
So what's Dinda's secret to getting rid of the fence with precision in a way that makes it look like it was never, ever there? The solution involves using the right approach to applying Content Aware Fill, Generative Fill, and Photoshop's Remove too to achieve high-quality results.
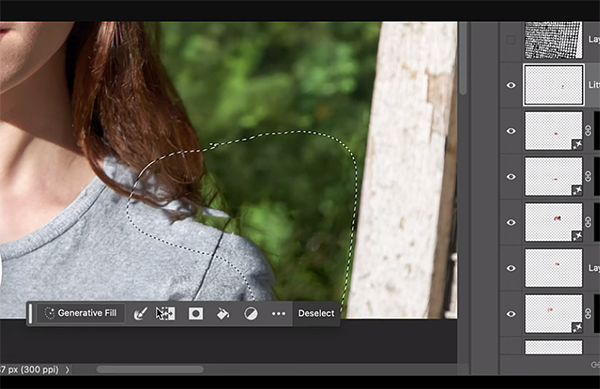
Once you get the hang of it (and it doesn't take long) you'll be able to easily and effectively remove any offensive elements from images forever more. He demonstrates the procedure from beginning to end, which begins by selecting the fence and applying a basic fill. Then you'll learn his technique for "filling by area."
Dinda also demonstrates how to fix the subject's eyes, perfect her lips, and he addresses a few bigger issues as well. There are tiny refinements too that are easily rectified with Photoshop's straightforward Remove tool.
There's one final step once the image is cleaned up, and Dinda explains it like this: "I'll Liquify the correct proportions and sizes," and he illustrates how that's accomplished. Then you have an absolutely precise transformation with nary a fence in sight.
The PiXimperfect YouTube channel contains an abundance of post-processing lessons for both beginners and experienced users, so be sure to visit often.
We also recommend watching an earlier tutorial we featured with another post-processing expert who demonstrates how to unlock the power of Lightroom's Linear Gradient tool to create awe-inspiring travel and landscape photographs.
- Log in or register to post comments


![]()
Get the Latest Photo Tips, News & Reviews from Shutterbug!
| Camera Reviews Other Reviews | Mobile Reviews Photography Reviews Columns | News | Features | How-To | Resources |
 © 2025 Shutterbug
AVTech Media Americas Inc., USA
All rights reserved