Five Steps For Optimizing Your Photos Page 2
STEP 4: Retouching
Use the Paintbrush tool to remove small specks, and the Clone tool to remove
larger spots or objects. Photoshop CS2 has a great feature called the Spot Healing
Brush, which makes it easy to remove spots caused by dust specks on a camera's
image sensor--just set the tool size a little larger than the spot, then
click on the spot.
 |
|
 |
|
|
STEP 5: Finishing Up
When the image looks the way you want it, save it as a master image. Then make
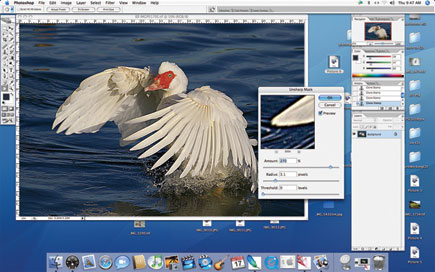
a copy, adjust it to the desired size, and sharpen it. Go to Filter>Sharpen>Unsharp
Mask. The Unsharp Mask window has three sliders; start with an amount of 100
percent, a radius of 1.5 and a threshold of 3. Use the enlarged portion of the
image to judge the results: If edges in the image develop a white fringe, you've
overdone it. Always sharpen at the final size, because changing the image size
changes the effect. And don't sharpen the master image--if you do,
the effect will be wrong if you change the size in the future.
 |
|
 |
|
|


