Landscape photography can be difficult depending upon ambient light and the position of the sun. Earlier this week we featured a powerful Lightroom tutorial for "relighting" dull and lifeless images, and today we have another one that addresses a different challenge.
It's not too late to update your New Year's Resolutions, and there's a good one to add to the list: Don't make the same common photography mistakes that you did in the past. That way you'll become a much better photographer in 2024 and beyond.
Exposing photos for the highlights can be a valuable technique for shooting during the day, and even more essential after the sun drops below the horizon. This tutorial provides two examples of the power of this technique and includes editing tips for quickly perfecting your results.
In may be a new year, but it's still "Tutorial Tuesday" at Park Cameras—a leading retailer in the UK that posts weekly photography lessons for their customers and the rest of us who want to improve our skills. Today's episode is all about employing exposure bracketing in the conventional way, as well as for other tasks you may not have used it for in the past.
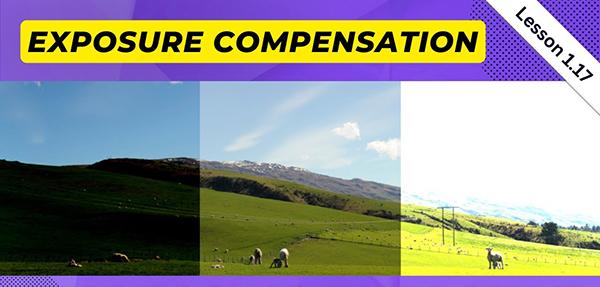
We all know that photography is all about light, and even the best cameras make mistakes rendering what they "see"—yielding images that are either too bright or too dark. If, like most of us, you prefer nailing exposure in the camera (instead of fixing things in post), you've come to the right place.
Yesterday we brought you a timesaving tutorial for streamlining Lightroom so the workspace displays all the tools you use in the order you want, with everything else hidden from view. We have another great trick today, this time it's a simple hack for using the Histogram to achieve perfect White Balance.
Most photographers adhere to the notion that you should employ the lowest ISO setting possible to achieve maximum image quality, and they routinely set the camera for ISO 100 when conditions permit. But as you'll see in the tutorial below, one of our favorite outdoor photographers takes a different approach.
We regularly post editing tutorial that help you enhance promising images that fall a bit shott, and this one from the popular PHLOG Photography YouTube channel is both quick and very effective.
This 10-minute tutorial begins with a question for those of you see captivating backlit photos with beautiful golden tones and think to yourself, "why don’t my photos look like that?" There are a number of challenges with shooting under such conditions, and the tutorial below explains what they are and how to overcome them.
Regardless of the genre of photography you enjoy most, sooner or later you'll be asked to shoot a few portraits of family or friends. Many photographers shy away from this task, either because don't know where to begin, or they're under the misconception that a studio and expensive/complicated lighting equipment is an absolute necessity.
If you've been shooting in Auto of Program mode and your images lack that special something, the tutorial below from the Photo Genius YouTube channel will solve the problem. In barely 14 minutes you'll learn the many benefits of Aperture Priority mode and pick some useful tips for capturing images with a creative flair.
It seems like every time we post a tutorial about the use of external flash we receive a bunch of comments from photographers who insist on shooting with available light—despite the fact that this approach doesn't always deliver the best possible results in certain situations.
Nighttime offers a variety opportunities for capturing eye-catching images, whether you're shooting cityscapes, on the water, or elsewhere outdoors. That's because scenes that look boring during the day are often transformed into sparkling tableaus once the sun drops below the horizon and the lights come on.
We've all had the misfortune of traveling to a promising location, only to be confronted with bad light that's guaranteed to result in flat, boring photos. Under this situation you have two choices; return on a better day or do the best you can and see what you can accomplish when processing your shots.
The use of affordable lens filters was more prevalent in the days of 35mm photography when we didn't have image-editing tools to enhance our work. But as you'll see in the quick video below, these simple accessories are just as valid in today's era of digital imaging.