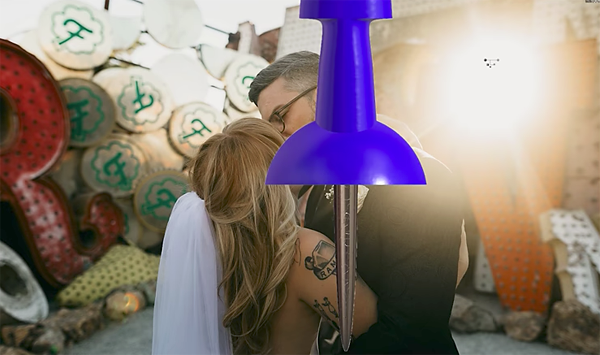
Sometimes all it takes to lift your photo from the ordinary to the extraordinary
is a striking edge or border. Would a soft-edged vignette or a unique pattern
border take your image to the next level of dramatic impact? While there are
myriad software programs and plug-ins designed to add special effect edges,
borders and frames, you probably already have quite an array of possibilities
built into your current image-editing software. To get you started, here are
some effects that I created with Adobe Photoshop. You can use Elements for these,
as well. Earlier versions of these as well as other image-editing programs offer
many of the same effects. Now let's give some photos a new leading edge...
Hoodman’s one-size-fits-all sunshade for MacBooks provides glare-free viewing in the great outdoors. HoodMAC fits 17 inch MacBooks and is “worn” by your MacBook just like a hat (spring tension in the HoodMAC keeps it securely in place). With the help of 3 sets of snaps, you can cinch the HoodMAC down for a great fit on both 15 inch Mac-Books and 13 inch MacBooks. HoodMAC pops into shape ready to mount when released from its travel bag with no assembly required.
Hoodman adds a smart hot shoe mount for using the HoodLoupe 3.0 during DSLR Video Capture.
The new mount is called HoodCrane. HoodCrane is available with the Cinema Kit Pro
which includes HoodLoupe 3.0, HoodMAG- a new magnifying video eyecup for your Hood-
Loupe 3.0--and the HoodCrane. If you already have the HoodLoupe 3.0 you can pick up the
HoodCrane and HoodMAG separately.
Hoodman’s new Custom Finder Kit for 3.2” viewfinders includes the new H32 HoodLoupe with German glass optics, a +3 diopter adjustment and a ¼ 20 mounting solution.
Hoodman's new patent pending, D-3 HoodCap snaps into place using the
mounting points already built into the Nikon D-3. The D-3 HoodCap is optically
clear, comes with scratch resistant coating and is backed by the Hoodman team.
The D-3 HoodCap retails for $24.99 and protects your LCD screen and allows unobstructed
LCD viewing at all times.
Hoodman and Trek-Tech are introducing a new toolkit for
macro photographers that makes positioning and stabilizing cameras for close up
macro photography quick and easy.
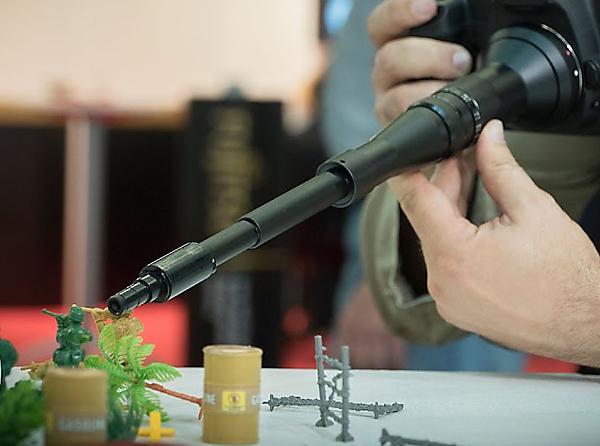
Direct Source Marketing (DSM), the sole U.S. distributor of Horseman photo products for professionals and high-end consumers, today announced unique multi-coated conversion lenses for DSLR cameras.
Among the numerous models is the Horseman 0.7 Wide, which is designed exclusively for 18-55mm zoom lenses. The 0.7x wide conversion lens is thin, lightweight and can be attached in front of the taking lens of your camera, quickly and easily. Another is the Horseman 0.6 Wide/Macro, a 0.6x wide conversion lens that also serves as a macro lens. The lens delivers crisp images without chromatic aberration in the periphery of images, enabling you to enjoy wide-angle photography over the entire focal length range of your DSLR zoom lens.
Nikon just announced two new lenses for it’s FX-format (aka Full Frame) DSLRs: the AF-S Nikkor 70-200mm f/2.8E FL ED VR zoom and PC Nikkor 19mm f/4E ED tilt-shift lens.
This two-minute post-processing tutorial from instructor Mike Wardynski demonstrates a simple technique for creating various edits of a single photo and accelerating the workflow without taking up extra space on your hard drive. The process involves the use of what are known as "virtual copies," and it's easy to understand how they work.
Yesterday we featured a primer on exposure bracketing, explaining how to get the light right by shooting three images of the same scene, and merging them during the editing process. Today you'll learn how nail exposure in the camera by using the oft-ignored histogram that you can set to appear on the rear LCD.
Dynamic Range is a very important concept to understand when evaluating the performance of your camera or purchasing a new one. This specification is also a key aspect when editing your photos, as you’ll see in the tutorial below.
Like many photographers using APS-C cameras you may be thinking about “moving up” to a full-frame model, while sifting through all the pros and cons before pulling the trigger. There’s a long list of variables to consider, including one that may not have to your attention.
Here's an outside-the-box Photoshop tutorial from an Australian photographer who specializes in post-processing techniques that add imagination and creativity to her whimsical imagery. The video begins with this simple question: "Why use a Grey Layer (we'll stick with her Aussie spelling) in Photoshop?"
This image by photographer Adrian Borda will probably make you do a double take. At first, it may make you think of an ancient Egyptian tomb where, perhaps, King Tut was buried, with shards of light filtering in through precisely filigreed cracks in the ceiling.