What You Don't Know About the Histogram & Why You Should Use It (VIDEO)

The Histogram is one of those tools that many Lightroom users ignore because they don’t fully understand everything it can do. This tutorial from the Photo Feaver YouTube channel will bring you up to speed in a hurry and convince you to include the Histogram in your post-processing workflow.
Instructor James Feaver is a passionate landscape pro and image-editing expert who posts weekly lessons for photographers of all skills levels. He introduces today's six-minute episode like this: "You shouldn't ignore the Histogram because it will get you better colors, and more realistic contrast. In can even fix your white balance with precision."
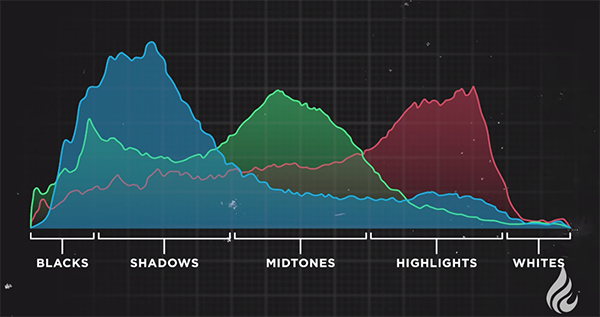
Here's a quick overview for those who are unfamiliar with the basics: The Histogram is a simple graph that illustrates how many pixels of a specific exposure value are in an image. This handy visual aid is split into five sections for evaluating whites, midtones, highlights, shadows, and blacks. In essence, it's a very convenient way to determine of an image is underexposed, overexposed, or just right.

With the basics out of the way Feaver moves on to other powerful capabilities of the Histogram, like refining White Balance in every image you edit. His first example is a shot he made in Zion National Park that is overly dark because it was exposed for the sky. This is immediately evident with a quick glance at the Histogram because most of the tones are bunched up on the left side of the graph.
Feaver quickly corrects this initial problem by moving the Exposure and HSL sliders while explaining the concept of "clipping" so that you don't go too far in either direction. You'll also see how targeting Whites and Blacks can add even more detail to the photo. He then explains how to improve Contrast and slightly "stretch out" the Histogram to further improve the image.
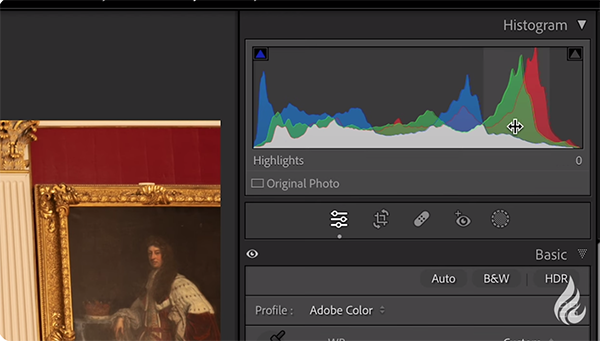
But the Histogram is useful for much more than adjusting exposure, which is where Feaver's second sample photo comes into play. This shot is a bit too warm for Feaver's taste and you'll see how easy it is to cool it off.

At this point he turns his attention to the Histogram's three color channels (red, green, and blue) and demonstrates a straightforward trick for "matching up the peaks" to quickly fix or enhance these tones for perfect color throughout the frame. Here's when the Temperature and Tint sliders prove very helpful.
Feaver also explains why sometimes a "correct" Histogram may not be exactly what you want, especially with regard to White Balance enhancements. Once you're done watching the video head over to Feaver's instructional YouTube channel where there are many more shooting and editing tips to be found.
And don't miss an earlier tutorial we featured with another image-editing expert who explains a handful of "hidden Lightroom secrets" for taking your nature photographs to the next level.


