All kinds of software help a lot us nowadays. I am using them almost everywhere because it's hard to produce something cool without them. Thanks for the great article by the way. I am really impressed
Regards, Mike from WordPress E-commerce Plugin
Imaging & Software: It Starts But Doesn’t Finish At Capture
One of the guiding philosophies for my personal work is to “have fun with photography” and that involves using image manipulation software to create either an idealized version, as in a portrait of a subject, or an interpretation of a previously captured photograph. Retouching portraits goes back to the hand-tinting Mathew Brady added to daguerreotypes delivered to his customers but in more recent times photojournalists have been fired from newspapers for applying a bit too much Photoshop on their images. The whole question of what is “too much” is fraught with contradictions: since we see the world in color, is a black-and-white photograph manipulated? Is burning and dodging or changing an image’s contrast a manipulation? Trying to find answers that everyone will agree on is enough to make you crazy so I don’t let it bother me because all I want to do is have fun with my photography. If you agree, here are some useful tools to help you do just that.
What’s In Your Camera Bag?
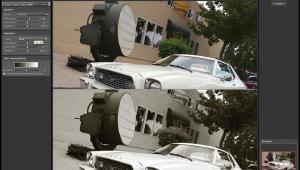
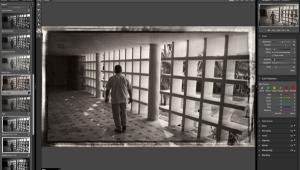
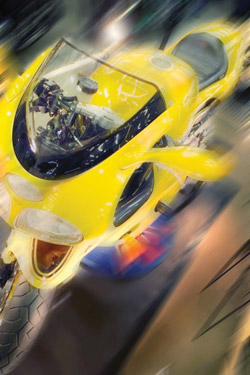
In the reverse of what usually happens with imaging software, Nevercenter’s (www.nevercenter.com) CameraBag was originally an iPhone/iPad app called CameraBag Mobile. Now it’s available as an application for Mac OS and Windows computers while retaining the original’s overall ease of use. What I like most about CameraBag 2’s intuitive interface is that it encourages you to play with your photos even when you don’t know what you want them to look like in the end. The software lets you compare several versions of your photo in dozens of styles that can be seen using side-by-side previews. A Remix slider lets you try infinite variations without having to worry about details, bringing back some of the “happy accidents” that used to happen when shooting film.
CameraBag 2 has a full suite of controls from contrast and exposure adjustments to vignetting, color correction, and curve editing. Styles and adjustments appear as tiles in the interface’s bottom tray, where they can be edited and rearranged. You can save any of your favorite effect combinations to reuse later with similar or different types of photographs. CameraBag 2’s Analog Engine uses 32 bit-per-channel, nondestructive, multithreaded image processing so it’s fast when working with Raw files and even the most heavily modified photos retain smooth, film-like colors. You can purchase a Mac OS/Windows license for $29 at Nevercenter’s website or a Mac-only license from the Mac App Store for $24.

Plug-In Of The Month
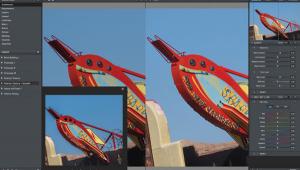
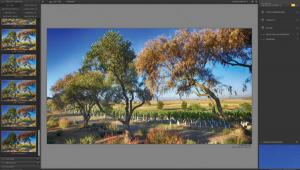
Those geniuses at Alien Skin Software (www.alienskin.com) have improved an already great black-and-white conversion tool while producing something with more features and effects than the previous version, including a revised interface that’s more attractive and easier to use. Compared to the previous version, Exposure 4 is now a single plug-in instead of two. Where before there were two separate plug-ins—one for color, one for black and white—under a single Filter menu item, now there’s just a single plug-in, making it easy to change the look and even switch between color or black and white in mid-process. At first glance the interface looks similar to previous versions but it’s not; the tabs for Color, Tone, Focus, Grain, IR, and Age, for example, not only jumped across the screen to the right side but have increased functionality. Some even have subsets of presets to complement the original presets (still at screen left) which have been extensively expanded.
In addition to adding sliders for Vignette and Texture in the Age tab, there’s also a group of presets available in a pop-up menu for each option that you can apply and tweak further using sliders. The overall effect can be previewed in a small preview window at top left by scrolling through the presets, without having to apply them. After you’ve decided what appeals to you, applying the effect is much faster and by using sliders you can add an infinite number of film looks to your digital images. Download a 15-day demo version of Exposure 4 and test drive it using your own photographs.

Lightroom Presets
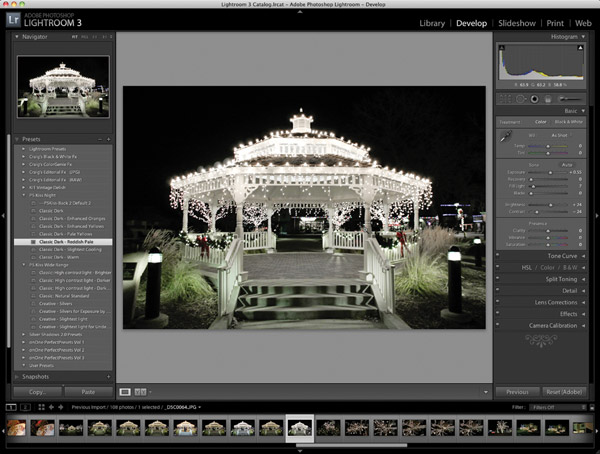
PSKiss (www.pskiss.com) is a company known for clever and inexpensive photographic software and their newest packages of Lightroom presets are worth a look. Night Palettes produces the soft, warm colors of night with or without (your choice) neutralizing the color produced under tungsten lighting. The Night Palettes presets work on color photographs and are influenced by an image’s basic luminosity. Their Wide Range Black & White presets convert color photographs to black and white while maximizing their tonal range. The presets are arranged in three groups: the Classic group includes Natural, Brighter, and Darker presets, while two Creative groups offer a set of Silver presets that are intended to work with high-contrast photos with bright highlights. The Wide Range Black & White presets operate on an image file’s luminosity and PSKiss claims they don’t influence an image’s colors. Each package costs $14.90 and you can download a free demo to try them yourself.

iCorrect Portrait For Mac
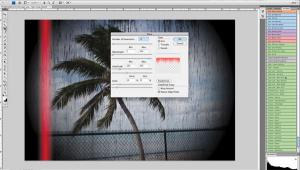
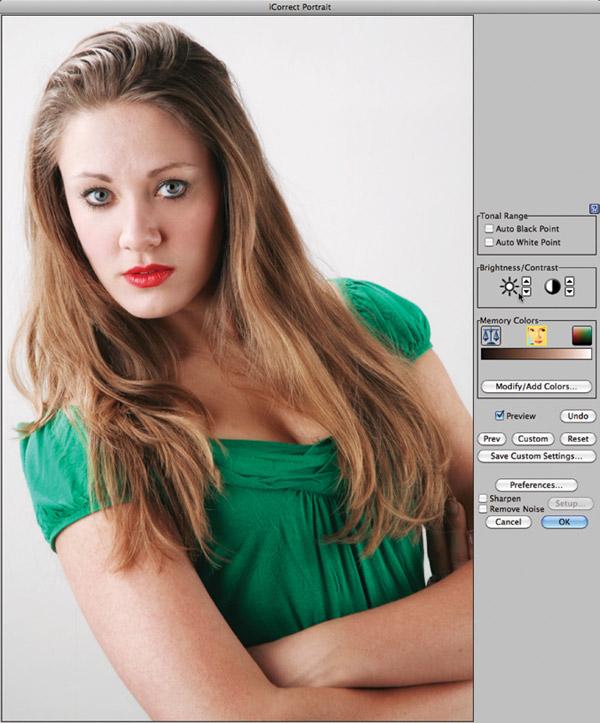
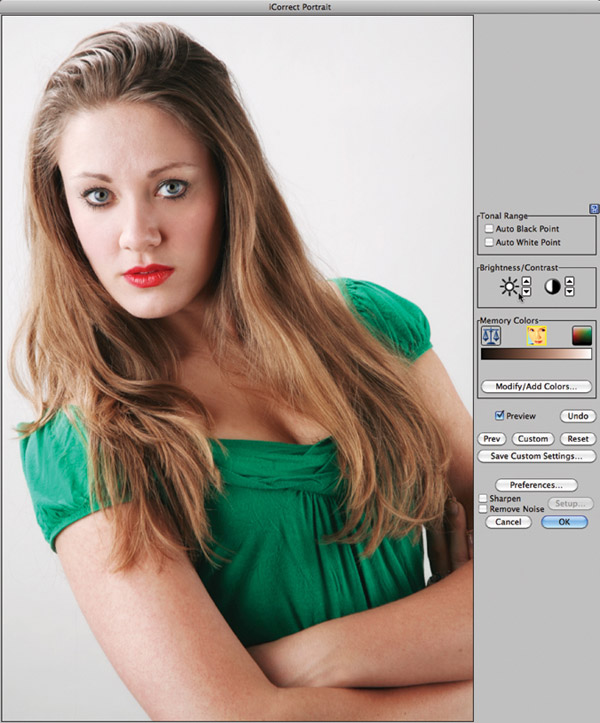
An indispensable Photoshop-compatible plug-in that I use every day and with almost every portrait I make is iCorrect Portrait (www.pictocolor.com). Version 2.0 has been available for a while for Windows computers and now it’s finally here for the Mac. With iCorrect Portrait, you can remove a portrait’s color cast but can also correct tonal range, and adjust brightness and contrast with a single click. When I give workshop presentations on Photoshop-compatible plug-ins and demonstrate how iCorrect Portrait does this it always elicits a gasp from the audience.
Since sharpening can make noise more pronounced, this latest version lets you apply enhancements/corrections and preview them along with the color correction before applying. Tip: As with any filter, you always have the option of using the Fade command (Edit>Fade) after applying any plug-in’s effect. You can also add your own custom Memory Colors to suit your preferences or make iCorrect Portrait part of a Photoshop Action for an automated workflow. While 2.0 still lacks a resizable window, you do have the option (inside Preferences) to “Use Largest Window Possible” that gives you a screen-filling dialog box and makes selecting smaller parts of the image easier.
App Of The Month
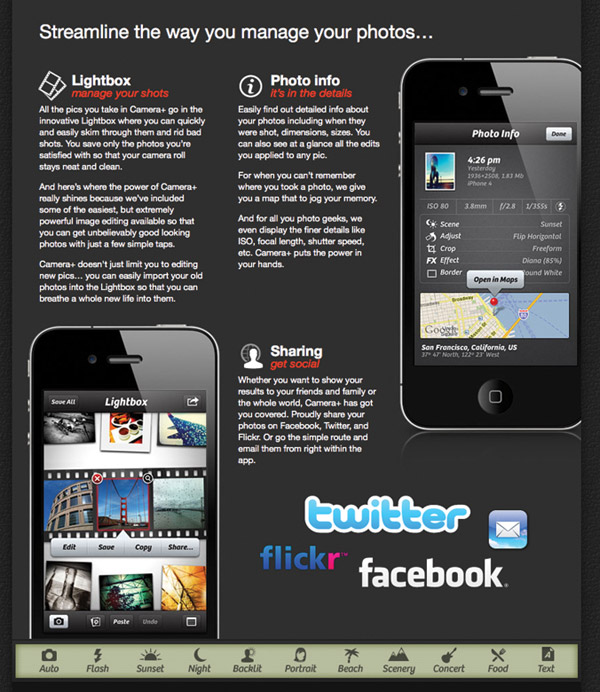
Camera+ (http://campl.us/) costs 99¢ and lets you adjust exposure by touching your iPhone until your shot is perfect. It also lets you use the iPhone 4’s LED flash as a continuous fill light to improve portrait and macro shots. Camera+ has a grid to help minimize tilted horizon shots and a 6x digital zoom. Most of you know how I feel about this feature in digital cameras but for an iPhone I’m not going to be picky, especially for an app that costs less than a buck. Camera+’s Lightbox feature lets you sort and edit images as well as share photos on Facebook, Twitter, and Flickr or e-mail them from within the app.
Android users might take a look at Vignette, an app that’s available from the Android Market for $3.99. Vignette has a digital zoom, self-timer, lets you do time-lapse, and offers geotagging. It also lets you add 84 film and camera effects, including toy camera styles as well as cross-processing, tilt-shift, and double exposures. You can even add a frame to your photos from any of the 59 built-in frames. If you have a favorite app to share with Shutterbug readers, drop me an e-mail via the Contact page of my website, www.joefarace.com.
- Log in or register to post comments

