- REVIEWS
Camera Reviews 
More Reviews Mobile Reviews Photography Reviews - GALLERIES
- VIDEOS
- BUYER'S GUIDES
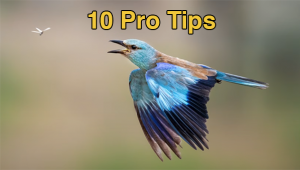
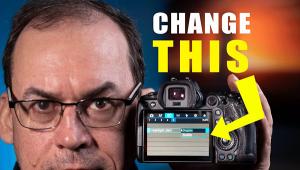
How to Shoot and Edit Photos for a Dramatic Sense of Speed (VIDEO)

Photos with a captivating sense of motion blur can be created in two ways: in the camera or during the image-editing process. This tutorial from instructor Pablo Garcia demonstrates how to combine both techniques to achieve the best possible results.
Garcia is an engineer-turned-nature-photographer who posts tutorials on a wide variety of subjects, all of which are designed to simplify seemingly complex tasks. This eight-minute episode partners several in-camera methods with a very effective Photoshop edit to give subjects the appearance of speeding through the frame.
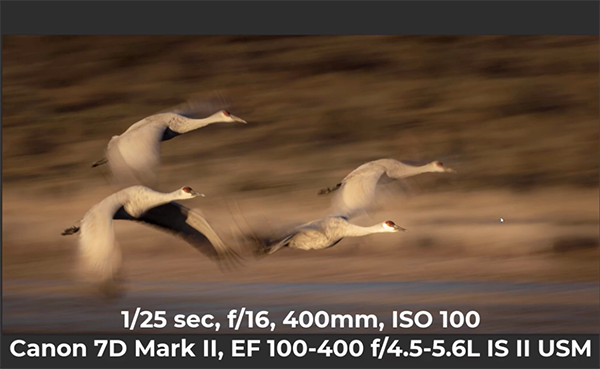
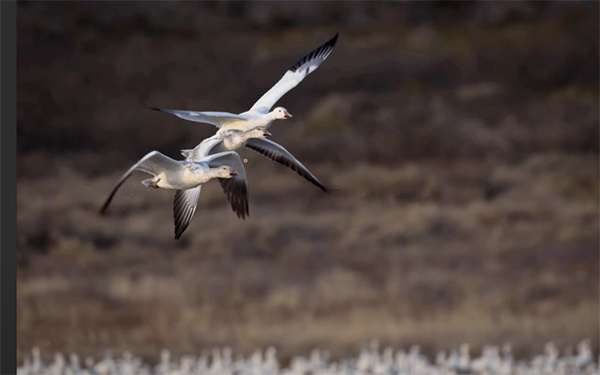
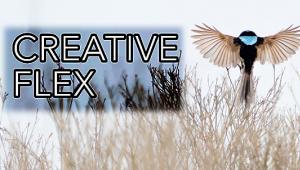
His discussion of motion blur begins with the initial capture where he discusses the concept of panning with a moving subject, explains the proper way to do it, and he illustrates his tips with attention-grabbing examples. You'll learn the camera settings he recommends, along with the importance of anticipation, and a few suggestions for composition.
When it comes to post processing Garcia says that "the Motion Blur filter in Photoshop is a great choice for giving our photos a sense of motion," and he walks you through the simple steps. He also explains how this easy-to-use tool can be employed with static-looking photos to make them look far more dynamic.
The goal is to create photos that look realistic and he describes how to overcome a few common issues to get the job done to perfection. The lesson concludes with a technique for combining Photoshop's Motion Blur filter with Content Aware Fill when you "need a bit more" to complete the task.
After watching this straightforward lesson take a look at Garcia's instructional YouTube channel where are many more shooting and editing techniques to be found.
And don't miss the earlier tutorial we featured with another accomplished pro who demonstrates how to "shape light" and add depth and dimension to nature and landscape photos with a straightforward Lightroom technique.


![]()
Get the Latest Photo Tips, News & Reviews from Shutterbug!
| Camera Reviews Other Reviews | Mobile Reviews Photography Reviews Columns | News | Features | How-To | Resources |
 © 2025 Shutterbug
AVTech Media Americas Inc., USA
All rights reserved