Give Photos Maximum Dynamic Range with a 1-Minute Lightroom Trick (VIDEO)

Increasing dynamic range can be an extremely effective method for improving photos that look flat and boring, and the transformation is often quite amazing. Today's episode from the Photo Feaver YouTube channel demonstrates a remarkably fast technique for getting the job in Lightroom.
In simple terms, "dynamic range" refers to the spread of tones in a photo, from the darkest shadows to the brightest highlights. This ratio is particularly important when shooting outdoors because the range of a scene often exceeds the capabilities of the camera. In fact, even high-end digital cameras capture only half as much range as the human eye discerns when looking through the viewfinder.
There are a variety of post-processing solutions, some of which are complicated, like shooting multiple photos of the same scene—each at a different exposure— and merging them during the editing process to create a final image in which the light is just right. The lesson below employs a far simpler technique to deliver the goods.
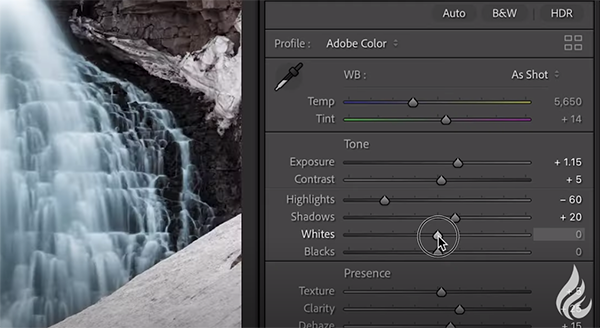
Instructor James Feaver is a British freelance pro who specializes in tutorials than run two minutes or less, designed to help novice photographers improve their shooting and editing skills. This episode demonstrates how to maximize dynamic range by setting the perfect black point and white point using two basic sliders in Lightroom.
The magic occurs in Lightroom's Develop module where Feaver drops down to the Basic sliders. He first targets the white point of his image using a keyboard shortcut so the screen goes black. Then he slowly moves the White slider to the right until you see white tones begin to appear on the black image.
Setting the correct black point works much the same, except this time you move the Black slider to the left until you start seeing black tones on the white screen. By taking these two super simple steps you now have the maximum dynamic range for the specific image at hand.
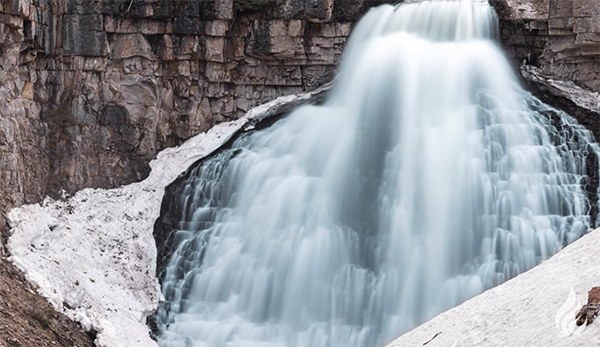
If you think this couldn't be faster or easier, think again, because Feaver concludes the video with an even quicker (and just as effective) method for accomplishing this task by using Lightroom's automatic settings. He once again provides helpful keyboard shortcuts to further accelerate the process.
With this approach you'll get the job as fast as it tasks to take a sip of your coffee. Feaver posts Two-Minute Tutorials every Tuesday, and you can find previous episodes on his instructional YouTube channel.
And don't miss the five minute lesson we shared recently from another accomplished pro who demonstrates a sneaky selection trick for eliminating distracting shadows, and he provides a free PDF cheat sheet that summarizes the straightforward steps.


