- REVIEWS
Camera Reviews 
More Reviews Mobile Reviews Photography Reviews - GALLERIES
- VIDEOS
- BUYER'S GUIDES
EXPOSURE BRACKETING: The Key to Perfectly Balanced Photos Every Time (VIDEO)

This tutorial begins with an important question for those of you who shoot in the field: "Do you have a problem dealing with situations where it doesn't matter what you do and your photos still have blown-out highlights or darks crushed into black with absolutely no detail? If so, this tutorial from Canadian pro Simon d'Entremont is just what you need.
Simon is a professional nature/wildlife photographer and a Canon Ambassador whose tutorials are always popular with Shutterbug readers. In this episode he explains how to use Exposure Bracketing to manage these situations. Be sure to watch until the end where he demonstrates a very effective technique for processing your bracketed photos.
So why is Exposure Bracketing so useful and what is the problem that we're trying to solve? According to Simon it's this: "There are times when the dynamic range of a scene are too great for the camera to capture in one photo." Many modern cameras can deal with 11-14 stops of dynamic range, "but if a scene has 16 stops of dynamic range we can't capture it all in a single shot."
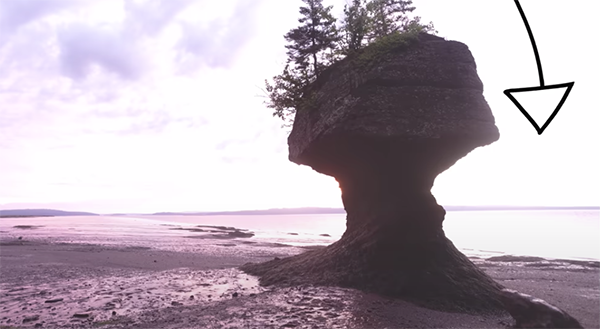
One of two things happen in these situations: If you try to make sure whites aren’t blown out, the darkest part of a photo will appear almost pure black. Conversely, if you properly exposure for dark areas, the brightest parts of the photo will look pure white—with unrecoverable details. And one conventional approach to addressing the latter problem often introduces an abundance of noise.
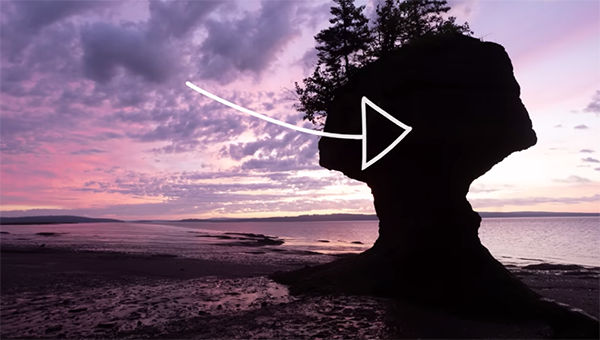
Exposure bracketing provides an ideal solution whereby you shoot multiple images at different exposure settings and then combine them during post processing to achieve one perfect image. Three shots are usually all that's required; one properly exposed, another that's underexposed, and a third that's overexposed.
As Simon puts it, "the best part of each photo is used to create an image with the best possible quality. In less than 12 minute he walks you through the shooting and editing procedures for getting the job done. Once you get the hang of it, and it doesn't take long, creating images with perfect exposures will be a piece of cake.
Simon's instructional YouTube channel features many more straightforward tutorials like this one, so be sure to take a look.
And check out the tutorial we featured recently with another post-processing expert who demonstrates how to shoot better outdoor photographs by concentrating on three different types of contrast in your scene.


![]()
Get the Latest Photo Tips, News & Reviews from Shutterbug!
| Camera Reviews Other Reviews | Mobile Reviews Photography Reviews Columns | News | Features | How-To | Resources |
 © 2025 Shutterbug
AVTech Media Americas Inc., USA
All rights reserved