5 HIDDEN Lightroom Tricks for Fast & Precise Photo Editing (VIDEO)

If you’ve spent any time editing images in Lightroom you know there’s a lot going on under the hood of this robust application, beyond the most commonly used tools. In the video below you’ll learn five “hidden” tricks that one pro says, “I wish I knew from day one.”
We often turn to image-editing expert Anthony Morganti because he really knows his stuff, and he has a knack for making seemingly complicated tasks easy to achieve. In today’s episode he explains five unfamiliar Lightroom tricks for getting things done fast
The tips Morganti provides are designed to simplify and speed up your workflow, make precise photo enhancements easier to accomplish, and help organize and streamline your image library. Bottom line: If you’d rather be out shooting than sitting behind a computer, this tutorial is a must-see.

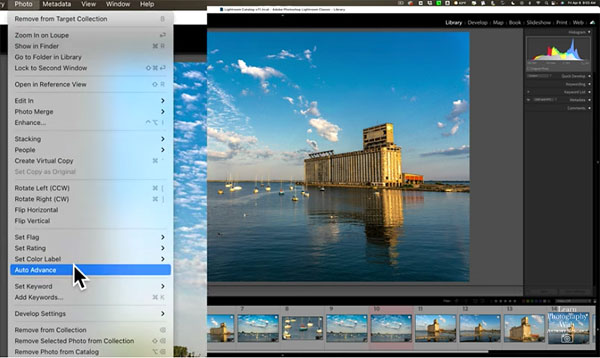
Morganti begins by explaining how to use Lightroom’s Auto Advance feature that facilitates sorting through photos—while rating and culling them faster. This tip isn’t exactly a secret, but if you’ve ever returned from a shoot with dozens or hundred of images, it’s a great place to start.
The next tip on the agenda has to do with making the most of Lightroom’s powerful Spot Removal tool, and it’s particularly useful for those who process images on a laptop. And as with the other techniques he describes, Morganti includes time-saving keyboard shortcuts.
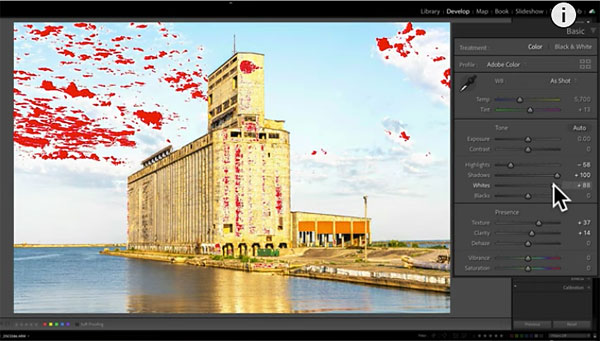
Morganti also reveals a more efficient way to use Lightroom’s Crop tool, a handy technique for softening skin in portrait photos, and a quick method for using white points and black points when editing your work. He also includes a couple “bonus tips” as well.

For more helpful image-editing advice, take a look at Morganti’s YouTube channel after you watch this video.
And if you want to give images a unique look, check out the tutorial we posted earlier, explaining how to give photos beautiful vintage colors in Lightroom and Photoshop.


