- REVIEWS
Camera Reviews 
More Reviews Mobile Reviews Photography Reviews - GALLERIES
- VIDEOS
- BUYER'S GUIDES
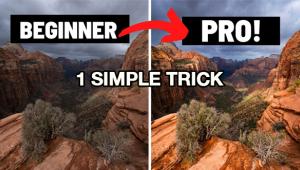
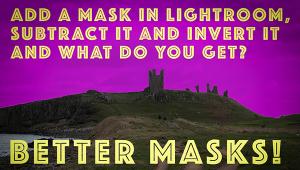
Make the Subject of a Photo POP with This Simple Lightroom Trick (VIDEO)

We recently featured an eye-opening tutorial from the PHLOG Photography YouTube channel, explaining a four-step process for streamlining your workflow with any Raw editor you use. The video below demonstrates a practical example of using this straightforward method to make the subjects of your images really stand out.
Instructor Christian Mohrle is a professional German landscape photographer who is very adept behind the computer. In today's nine-minute episode he demonstrates an effective Lightroom trick, using his four-step process to makes subjects POP by separating them from the background of a scene.
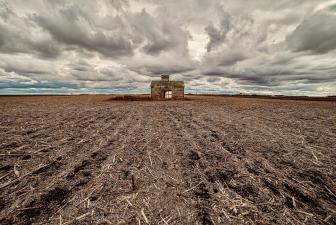
We encourage you to download the demonstration photo using the link beneath the video so you can follow along in real time and make the enhancements yourself as they're explained. If you watched the lesson mentioned above, you know that Mohrle always begins with a few basic global adjustments, affecting the entire image, to prepared the shot for the selective edits that follow.
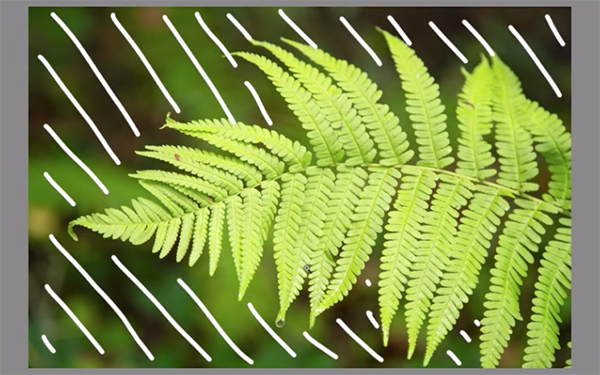
Mohrle's goal with today's simple nature shot is to retain the subject's brightness while darkening the background in a way that looks both dramatic and realistic. His preliminary adjustments take place in Lightroom's Basic panel where he increases Contrast between the two zones in the image. He modifies White Balance to achieve a cold, dark look by significantly dropping Color Temperature.
Other initial enhancements include modifying tint to remove an unwanted color cast, dropping exposure, and cutting Highlights for more detail. He further darkens the background by bringing down the shadows all the way to accentuate the green fern in the foreground. He then increases blacks to avoid too much underexposure in the background.
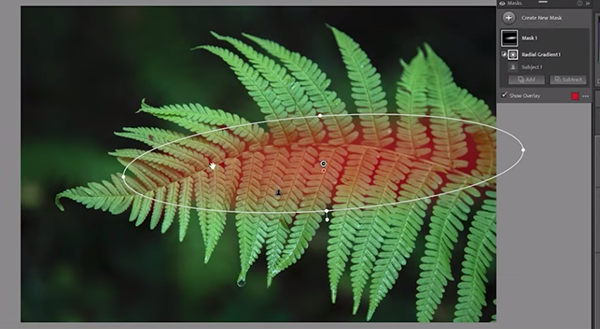
After a few more quick tweaks it's now time for step two; namely simple Masking to selectively modify different areas within the frame. Here he uses a Radial Gradient to carefully brighten just the center of the plant. That's followed by an inverted Color Range mask to refine the green tones of his subject and further separate it from the background.
Once the masking is complete, the next step is color grading, and Mohrle quickly explains how that's done. He completes the transformation with sharpening and focus stacking to achieve a very impressive result. Mohrle's popular YouTube channel is full of interesting technique like this, so be sure to check it out.
And make sure to watch the tutorial mentioned above, so you fully understand the four step workflow. Then you'll likely find yourself changing the manner in which you edit photos in the future.
- Log in or register to post comments


![]()
Get the Latest Photo Tips, News & Reviews from Shutterbug!
| Camera Reviews Other Reviews | Mobile Reviews Photography Reviews Columns | News | Features | How-To | Resources |
 © 2024 Shutterbug
AVTech Media Americas Inc., USA
All rights reserved