- REVIEWS
Camera Reviews 
More Reviews Mobile Reviews Photography Reviews - GALLERIES
- VIDEOS
- BUYER'S GUIDES
Lesson Of The Month
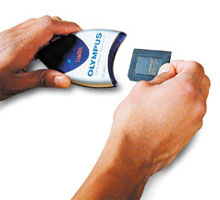
Basic Startups With A Digital Camera
As photography continues
to merge with computers, it has become easier to make great pictures.
Advances in technology have made it possible for consumers to own high
quality digital cameras, to make excellent prints using ink jet printers,
and post and send pictures over the Internet. Just a few years ago,
it was an intricate process just to secure a connection between a computer
and a digital camera, let alone learn how to operate it. This lesson
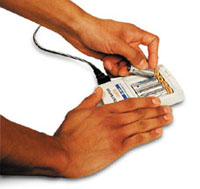
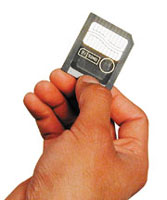
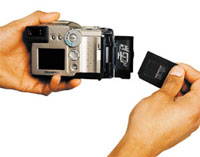
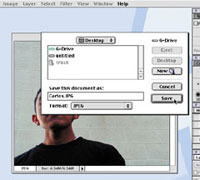
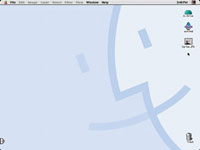
is designed to illustrate the simplicity of capturing images with a
digital camera, storing them on a computer, and making them ready to
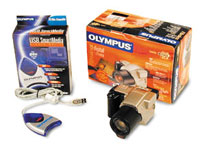
print or send over the Internet. This lesson will be posted in the free public section of the Web Photo School at: www.webphotoschool.com. You will be able to enlarge the photos from thumbnails. If you would like to continue your digital step by step education lessons on editing, printing, and e-mailing your photos it will be on the private section of the Web Photo School. Shutterbug has negotiated with WPS to offer our readers a special 33 percent discount rate of $30 per year. To enroll at this discount just go to: http://shutterbug.webphotoschool.com and fill out the Shutterbug questionnaire which will help us to publish lessons for you in the future. Technical Equipment · Olympus C-2500L |
|||||||
|
|
||||||
|
|
||||||
|
|
||||||
|
|
||||||
|
|
||||||
|
|
||||||
|
|
||||||
|
|
||||||
|
|
||||||
|
|||||||


![]()
Get the Latest Photo Tips, News & Reviews from Shutterbug!
| Camera Reviews Other Reviews | Mobile Reviews Photography Reviews Columns | News | Features | How-To | Resources |
 © 2026 Shutterbug
AVTech Media Americas Inc., USA
All rights reserved