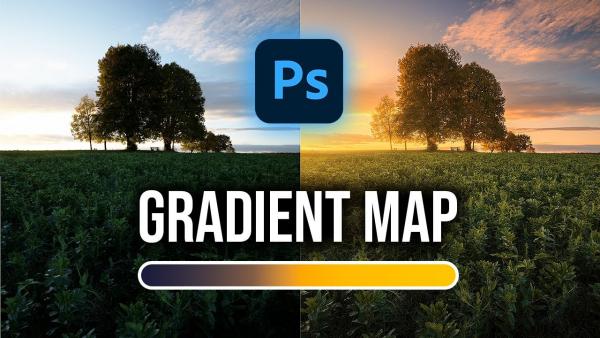
Use Photoshop's Gradient Maps for Landscape Photos with Stunning Color (VIDEO)

Today's tutorial from the PHLOG Photography YouTube channel demonstrates a powerful editing technique for precisely color-grading landscape images with Photoshop's Gradient Map tool. The technique is simple to accomplish and will work wonders for just about any photos you shoot in the great outdoors.
Instructor Christian Mohrle is an acclaimed German pro, and he provides a link beneath the video for downloading the demonstration image so you can follow along in real time. He always begins edits with a few basic adjustment before jumping into the topic at hand. If all you're interested in is the Gradient Map technique, just go to the 8:32 mark of the lesson.
Mohrle's preliminary adjustments are well-worth watching, though, because you'll pick up some tricks for future use. He first changes the profile from Adobe Color to Adobe landscape, and then makes several exposure adjustments in Photoshop's Lights panel. The next step involves a few initial color adjustments in the Color panel.

After some straightforward masking, the preliminary adjustments conclude by cleaning up the photo and adding a bit of sharpening. Now the image is significantly improved and it's time for Mohrle's Gradient Map adjustments that take his photograph to a whole new level. He shows you where to find the tool at the bottom of the menu.
At first things look very strange because they're a few quick steps before you can apply the color grading effects. These include adjusting the blending mode from Normal to either Overlay or Soft Light, depending upon how strong you want the enhancements to appear. It's also important to lower Opacity of the adjustment layer, and Mohrle recommends a setting from 10-30%.
Mohrle then jumps to the Gradient Editor window for the final refinements and explains how the method is somewhat like Split-Toning. The difference is that you can not only affect color tones but effectively work on contrast.

You'll notice a bunch of built-in presets and other options in the panel. Mohrle suggests ignoring these and explains why and how you should concentrate solely on the color box in the window. The left side represents shadows while the right indicates highlights.
In the last four minutes of the lesson Mohrle walks you the step-by-by step process for completing the amazing transformation. You can find more eye-opening tips and trick by visiting Mohrle's instructional YouTube channel, so be sure to do that and explore what's available.
We also suggest watching another powerful Photoshop tutorial we posted recently, with four amazing landscape photography effects that are easy enough for users of all skill levels.
- Log in or register to post comments


